· 16 min read
How to sell event tickets on your own website
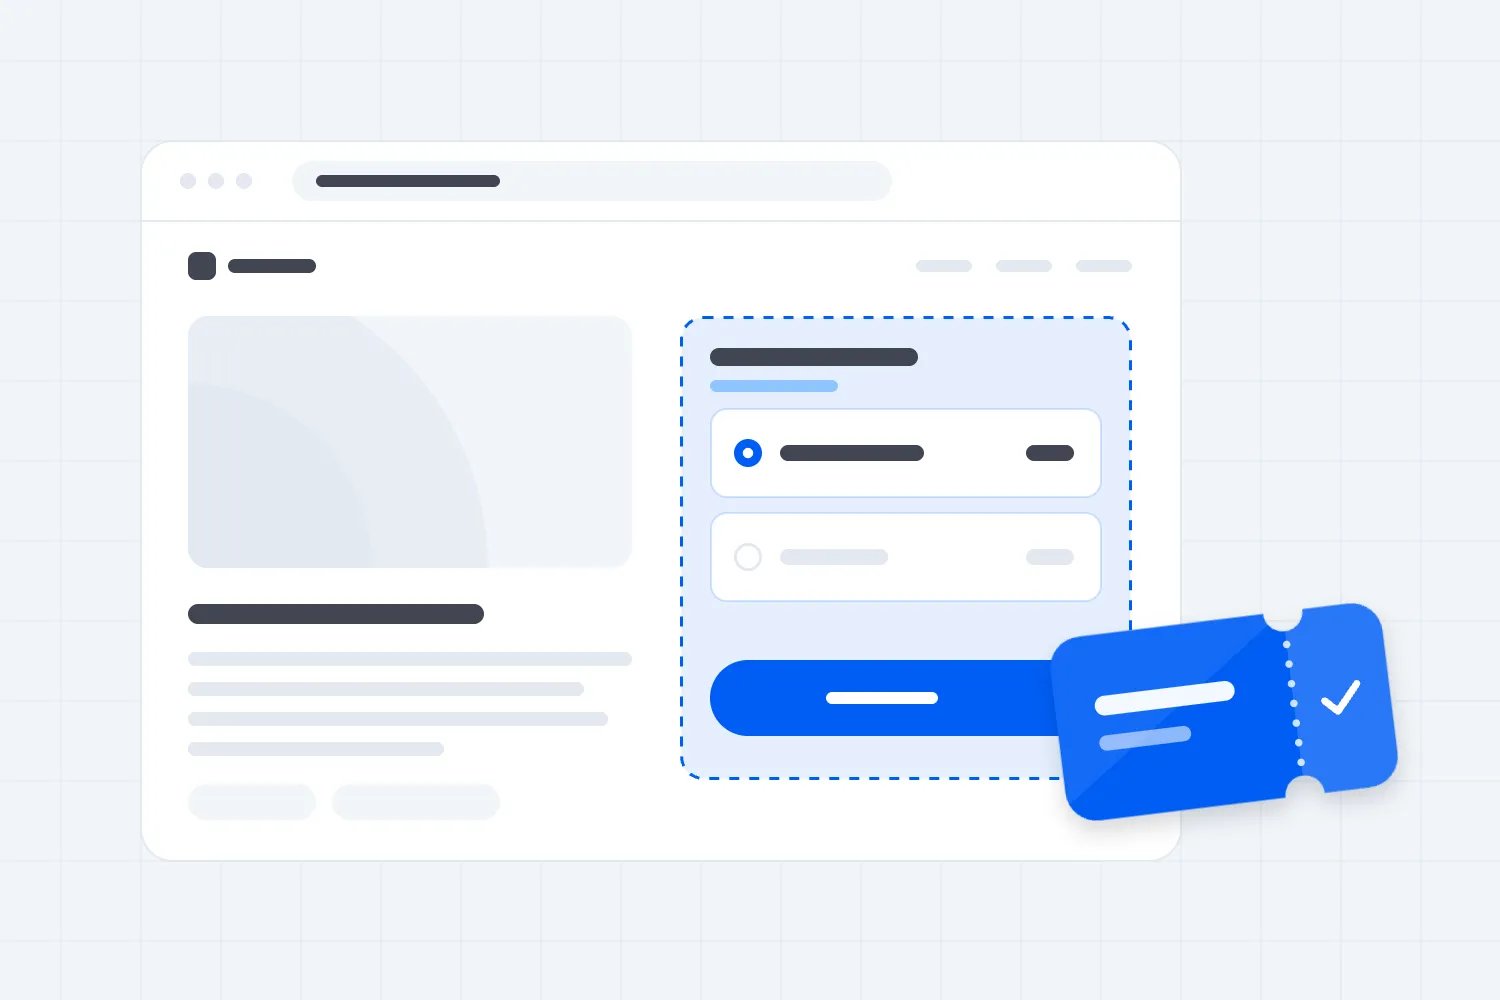
You can sell event tickets on your own website by linking to a ticketing page, embedding the event into your site, or building a custom ticketing connection. For most event businesses with an existing website, start with a supported embed or a clear ticket button. Choose custom development only when you can name a requirement the simpler options cannot meet.
Your website gives you room to explain the event in your own words. The ticketing system still needs to collect payment, control availability, deliver tickets and give your door team a usable attendance list. Getting those jobs connected matters more than where the address bar points.
This guide walks through choosing the right setup, embedding a Loopyah event, presenting the offer, checking fees, testing the purchase and measuring sales. The aim is a page you can confidently send paying customers to, with an operating cost your event can support.
Choose how your website will sell tickets
The first thing you want to do is separate the page people read from the system that completes their order. They can appear together while different services handle them.
Add a ticket button when you need a straightforward launch
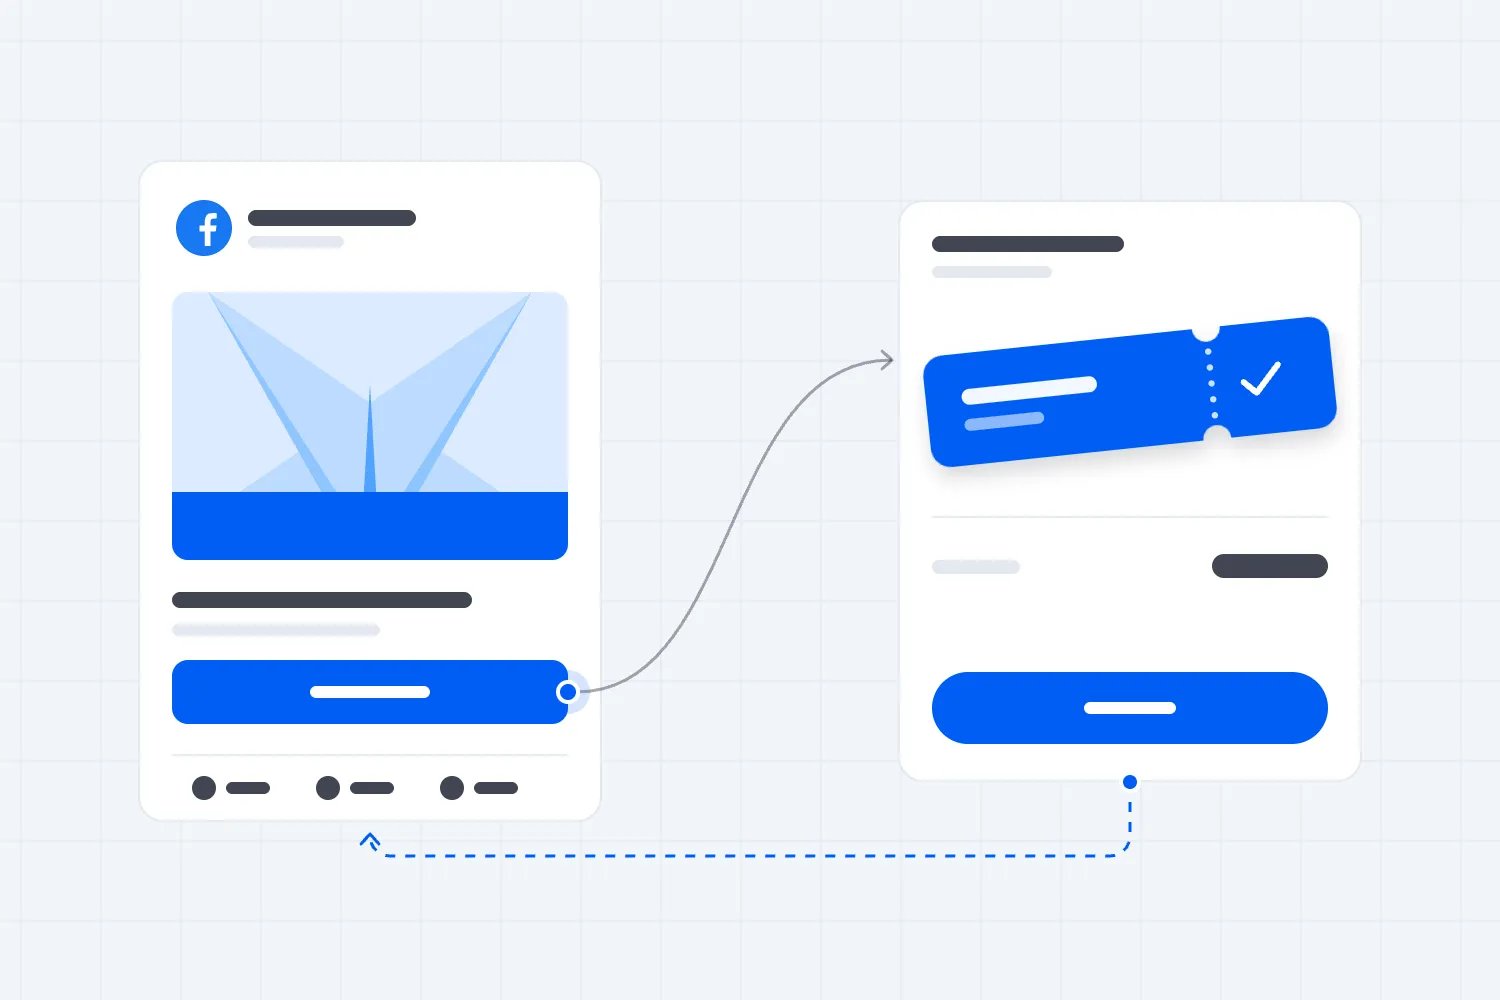
A ticket button links from your website to the event's ticketing page. You write the event description on your site, add a clearly labelled button and send the buyer to the place that manages the purchase.
This suits an operator who already has a working checkout and wants to put an upcoming event on a venue or brand website. It also gives you a useful fallback when an embedded page does not load for someone.
Send the button to the specific event. Making buyers search a general events directory after they have chosen your show adds an avoidable task. Check that the date, ticket name and price agree on both pages.
A button does involve a handoff. That does not prove it will sell fewer tickets than an embed. Test the experience and judge the orders it produces.
Embed the event when buyers need it inside your page
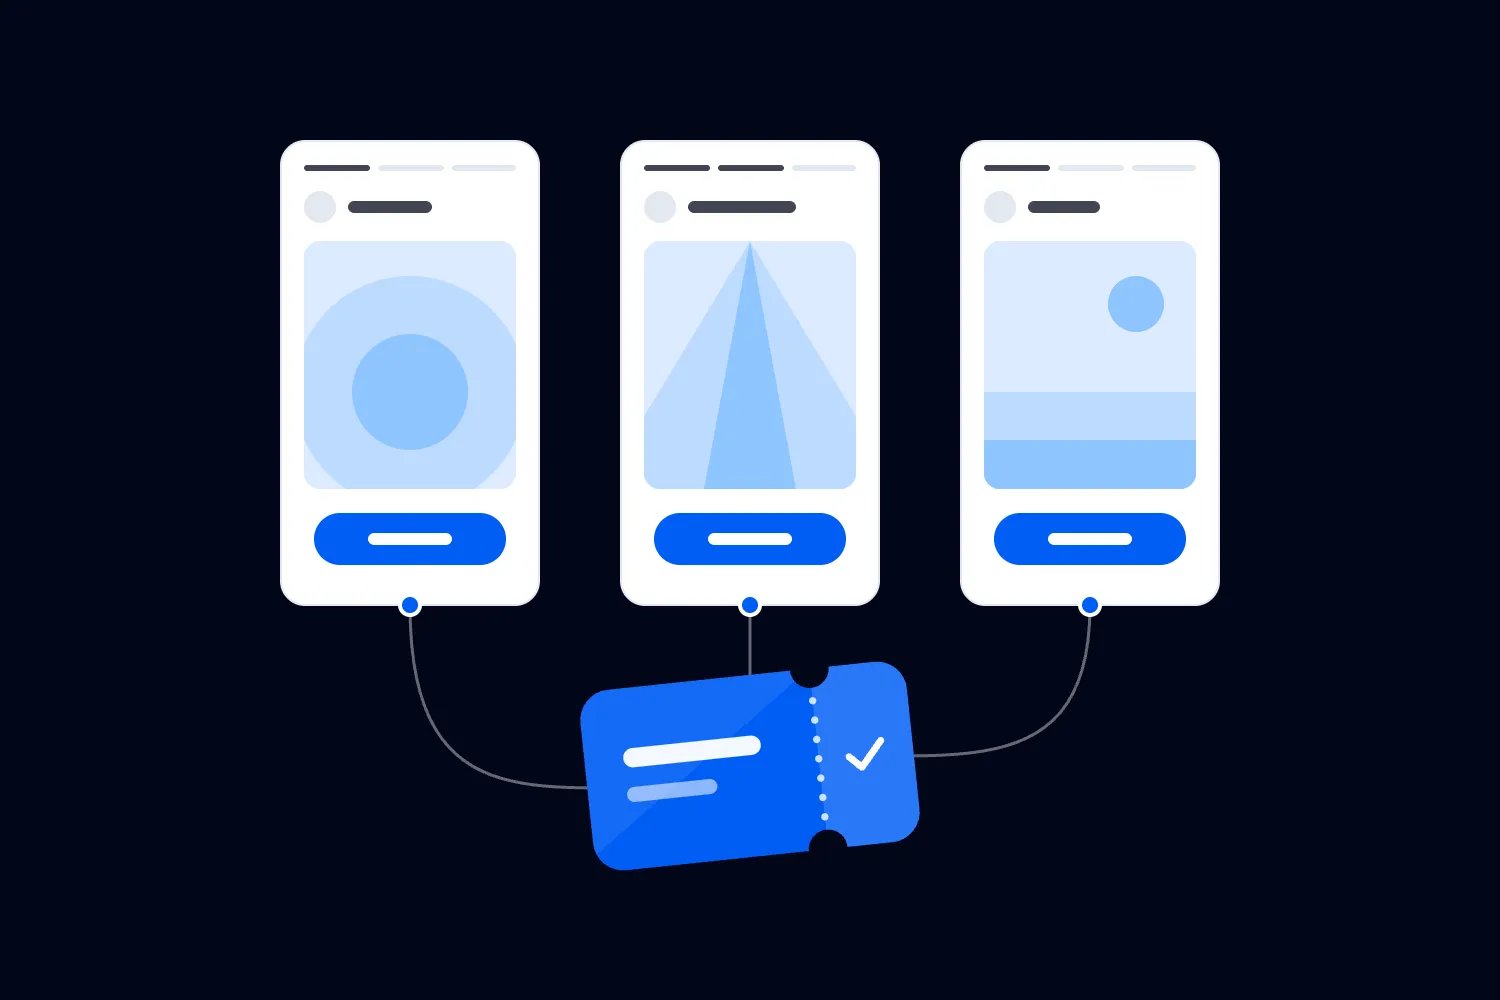
An embed displays another service's event page within your website. An iframe is the window that makes this possible. Your site surrounds it with your navigation and content, while the ticketing service supplies the event and purchase functions inside it.
This can suit a festival website with extensive programme information, a venue's show page or a workshop business with an established audience. You keep the page you already use and add the event where buying makes sense.
The important question is whether your website plan allows the supplied embed code. Check this before commissioning a redesign or buying an extra plugin. Also check the actual payment journey. An embedded event does not mean every payment method will behave identically on every browser.
Build a custom connection when the business requires it
Custom development can make sense when ticketing must connect to an existing account system or a purchasing process that a supported embed cannot deliver. Write the missing requirement down first, then confirm the ticketing provider actually supports the connection you need.
Budget for everything after the payment button. Someone must handle ticket availability, payment confirmation, delivery, refunds, failed orders and support when something breaks. A payment receipt alone does not tell a scanner which ticket to admit.
Before approving a custom build, ask for a demonstration of the difficult cases. Two buyers trying to purchase the last seat must not both receive it. A repeated payment notification must not generate another ticket. A declined payment must not leave the customer believing they have a booking. Those are acceptance criteria you can give a developer without designing the software yourself.
Also decide who will maintain the connection after launch. Include that person in changes to the website, payment provider or ticketing settings. For an operator running several paid events, the continuing responsibility matters as much as the initial build quote.
Stripe's order fulfilment guidance explains one easily missed detail: a successful payment cannot depend on the customer reaching your confirmation page. Their connection could drop after payment. A custom build needs a reliable payment notification to trigger delivery and prevent duplicate fulfilment.
Set up the tickets before installing the embed
Start with the event you intend to sell. Confirm its date, venue, ticket types, quantities and refund policy in the ticketing system. Decide which tickets are available now and what happens when a release sells out.
Keep one authoritative inventory for the same event. If your website and social links all lead into that event, you can manage availability there. Creating separate stock in a website shop just to make the page look integrated creates a reconciliation job you will have to own.
For a seated show, check that the ticketing setup matches the room. A general admission quantity is different from a buyer selecting a particular seat. Resolve that distinction before the first sale, especially if the venue has holds or sections with different prices.
With Loopyah, you can give a ticket type several releases with their own prices and quantities. The next release opens when the previous one sells out. Your website copy should support that behaviour rather than promising that an old price will stay available.
Copy the supplied Loopyah embed
The current Loopyah embedding instructions describe this setup:
Open your event page and select More options.
Select Embed Event to open the embed dialog.
Copy the generated embed code.
Open the page in your website editor where you want the event to appear.
Paste the code into the editor's supported HTML or embed block, then save and preview the page.
Loopyah supplies an iframe so visitors can view the event and purchase tickets directly from your site. Use the code the platform generates. You do not need to create a second payment form alongside it.
Website editors differ in what they permit and which plans include custom code. If yours removes the code or leaves an empty area, check the editor's current support instructions. A page that looks right inside the editor still needs testing on its public address.
Give the embed enough room to work
Place it in a normal content section with enough width for ticket selection. On a phone, check that buyers can reach the entire purchase area without awkward sideways scrolling or a clipped payment button.
Keep a plain ticket link nearby with a useful label such as "Open the ticket page". That gives buyers another route if the embedded view fails. Test the fallback too, including the selected event and its live availability on both desktop and mobile.
Put the buying information around the checkout
An embed cannot explain an unclear offer for you. Before the buyer reaches ticket selection, they should understand what they are buying, when it happens, where to go and what their ticket includes.
Put the event name, date, location and ticket action near the top. Follow with the programme or experience that justifies the price. Keep practical details within reach: arrival time, age restrictions, accessibility information and the refund policy you actually use.
If you sell several ticket types, explain meaningful differences in plain language. "Standard admission" and "Admission plus workshop" tell buyers more than unexplained tier names. Make exclusions equally clear. Someone buying admission should not discover later that the session they wanted needs a different ticket.
Our event landing page guide covers the page itself in more detail. For this setup, concentrate on the handoff between that explanation and the tickets people can actually buy.
Keep the page easy to maintain during the sales period. If a price is shown in several website sections, every release change creates another place to update. Prefer one current price source and explain the range or ticket differences elsewhere where needed.
Use real event images and specific descriptions, but keep the ticket area easy to find. A long video, an oversized navigation menu or a newsletter pop-up should not cover the purchase controls. Have someone unfamiliar with the event find the correct ticket without your help.
Then check the confirmation experience. Buyers need their tickets and practical next steps after paying. The support email on your website should reach the person who can resolve a missing order, not a mailbox nobody checks until show day.
Work out what each sale leaves you
Selling through your website does not remove payment or ticketing costs. Compare the complete arrangement, including the website plan, any required extension, transaction fees and the time someone spends maintaining it.
Ask whether the quoted charge applies per ticket or per order, whether card processing is included and what happens to fees after a refund. A low headline rate is difficult to assess until those details are clear.
Loopyah's current ticketing page lists a US fee of $1.15 plus 4.75% per paid ticket, including card processing. The following illustration uses that published rate, checked on 9 October 2026, and assumes the organizer absorbs it. The ticket prices are examples, not recommended prices or observed sales.
A $20 ticket carries a $2.10 fee and leaves $17.90. A $40 ticket carries a $3.05 fee and leaves $36.95. An $80 ticket carries a $4.95 fee and leaves $75.05. These amounts are before your other event costs and any taxes or adjustments that apply.
| Label | Amount after ticketing fee | Ticketing fee |
|---|---|---|
| $20 ticket | 17.9 | 2.1 |
| $40 ticket | 36.95 | 3.05 |
| $80 ticket | 75.05 | 4.95 |
The fixed part of the fee takes a larger share of a lower ticket price. Use your actual ticket mix when assessing costs. A calculation based only on the most expensive ticket will flatter the result if most buyers choose the cheaper release.
Loopyah lets you absorb its fee or pass it to buyers for each event. Either way, review the buyer's complete payable amount and your expected proceeds. Do not describe the post-fee amount as profit. Your venue, talent, staffing and other costs still have to come out of it.
For custom development, add ongoing support to the comparison. A cheaper transaction rate can be outweighed by maintaining the purchase system. Use the event budget guide to keep that spending inside the event's financial plan.
Test the whole purchase on a phone
The useful test begins where a buyer begins. Open a real campaign link, reach the published website, select tickets and continue through payment and delivery. Looking at the embed in your website editor cannot confirm the whole route.
Use the provider's approved testing method if available. If a real purchase is necessary, agree who will place it and how its fee, refund and inventory effects will be handled. Do not assume a refunded test will cost nothing.
Check the screen your customer actually sees
Test a phone and desktop, including the browsers your customers use. If you promote through social apps, open the page inside those apps too. The browser inside an app can give a different experience from opening the same address directly.
Choose more than one ticket, change the quantity and return to the previous step. Check that the price and quantity still make sense. Try your live promo code if you use one, then remove it and confirm the total changes correctly.
Look for competing controls. A cookie banner can cover the bottom of the page. A sticky ticket button can obscure the form it was meant to help people reach. An embed can fit perfectly until a keyboard opens on the phone.
Check that people can use the controls
Try completing the route with a keyboard. Can you reach the ticket selector, change quantities, move into and out of the embed and activate the relevant buttons? Can you see which control is selected?
W3C's keyboard accessibility guidance explains why functionality needs a keyboard equivalent. This check should include the website around the embed as well as the ticketing experience inside it.
Forms also need understandable instructions. W3C's form guidance recommends clear labels and information about required fields and expected formats. If a payment or email field fails, the buyer should be able to understand the problem and fix it. These checks can reveal problems; they do not establish full accessibility conformance.
Verify payment, ticket delivery and the order record
Loopyah supports guest checkout with card, Apple Pay and Google Pay, with Afterpay available in Australia. Check the methods relevant to your event, buyer and device. Do not promise every wallet will appear everywhere just because the platform supports it.
After the approved test, verify the order in the event dashboard. Check its ticket type, quantity and amount against the purchase. Confirm that the email arrives and its ticket link opens. Loopyah's confirmation email links to the buyer's QR tickets.
Finally, verify the support route for a buyer who cannot find that email. Payment success and a confused customer can coexist. Your team needs to recognise the order and explain what happens next.
Measure purchases through the website handoff
Start with completed orders in the ticketing system. Website traffic, ticket-button clicks and checkout starts help diagnose the journey, but none means someone paid.
Where your setup supports them, keep separate counts for event-page visits, checkout starts and completed purchases. Google's ecommerce documentation distinguishes starting checkout from a purchase and describes transaction identifiers, values and currencies. Ask whoever manages measurement to verify those details against an actual order.
Do not assume your website analytics can see inside an embedded page. The ticketing provider controls that part of the journey. Confirm which purchase signals it exposes and which supported integrations can receive them before promising a complete website funnel.
If the buyer moves between your domain and a separate checkout domain, Google's cross-domain measurement guidance explains the setup required to connect activity across them. This depends on compatible tagging and access to the relevant domains. Adding a tag to your homepage alone does not establish that connection.
Read the numbers without inventing a benchmark
Imagine a measured group of 1,000 website sessions. Of those sessions, 300 start checkout and 210 complete one order each. This is an illustrative example, not a normal conversion rate or a forecast for your event. Assume the measurement reliably connects those steps.
| Label | Sessions |
|---|---|
| Event page viewed | 1000 |
| Checkout started | 300 |
| Order completed | 210 |
In this example, 30% of the sessions reach checkout, and 70% of those checkout sessions complete an order. The overall session purchase rate is 21%. That tells you where to investigate; it does not tell you why the other sessions stopped.
Look at the page and audience when visitors seldom reach checkout. Check ticket selection, payment errors and unexpected totals when people start but fail to finish. Compare similar traffic periods before blaming the embed or changing the price.
Loopyah reports ticket sales by source. Use that reporting to understand which posts, emails and other channels produce orders, while checking how the reported source was assigned. Browser restrictions, consent choices and a buyer returning on another device can leave measurement incomplete.
Keep order count separate from ticket count. One completed purchase might contain several tickets. Keep refunds separate too, so the sales number you use for spending decisions reflects the money you expect to retain.
Launch with someone responsible for the page
Before the first campaign goes out, assign an owner for event details, ticket availability and buyer support. A page that has several editors but no clear owner can keep showing an expired offer long after the ticketing system changes.
Record the live page address, the fallback ticket link and the person who can edit each. Keep campaign destinations consistent so your team can find and fix a problem without searching through old messages.
Decide what the website should say when tickets stop selling. A sold-out event, a paused sale and a passed event date need different messages. Leave accurate event information available, but replace any promise of available tickets when it is no longer true. If you close a sale early, check the website button and the embedded view together. Your customer should be able to tell whether to choose another date, use an available waitlist or contact your team for help.
After launch, check the first real orders and buyer questions. If several people ask the same practical question, put the answer near the tickets. If a technical problem blocks purchases, switch the prominent ticket action to the verified fallback while it is fixed.
Repeat the purchase checks after a website theme change, a new ticket setup or a change to the payment connection. Those are moments when an arrangement that worked previously deserves another look.
Questions before you choose a setup
Can I use my existing website builder?
Start by checking whether your current plan accepts the ticketing provider's embed code. If it does, install the supported code on a preview page and test the public version before promoting it. If it does not, a normal ticket link can still connect your website to the event. Avoid buying an extension until you know what specific limitation it solves.
Do I need a developer to add an embed?
Loopyah's published process is to copy the generated iframe and paste it into your website's HTML. Someone comfortable using your website editor may be able to do that. Get help if your theme clips the embed, your editor removes it or the purchase behaves incorrectly. Installing the code and verifying the customer experience are separate jobs, and both need an owner.
Does an embed automatically improve conversion?
No performance gain is established simply by installing one. An embed might make the event convenient to browse within your website, but the result depends on the offer, audience and working purchase experience. Compare completed sales with a reliable measurement setup. Avoid changing the price, campaign audience and website route at the same time if you want to understand what changed the result.
What if my event has several dates?
Give visitors a clear way to choose the performance or session they mean to attend. Check every destination against its date, time and venue before launch. A prominent button that accidentally sends Friday's visitors to Saturday's tickets can produce real orders for the wrong event. Include the selected date in your purchase test and verify it again in the confirmation and ticket.
Start with the setup your team can maintain
Use a ticket button when a reliable handoff does the job. Use an embed when you want the event and purchasing experience within your existing website. Choose custom development when a specific business requirement justifies its continuing cost.
Then check the entire experience, including what the buyer pays, what reaches your order records and how the ticket arrives. That is how your website becomes a dependable place to sell your next event.

Author: By the Loopyah Content Team
The Loopyah Content Team shares expert insights, practical guides, and industry updates to help event organizers create unforgettable experiences and stay ahead in the event planning world.