· 16 min read
How to run Facebook ads for events that sell tickets
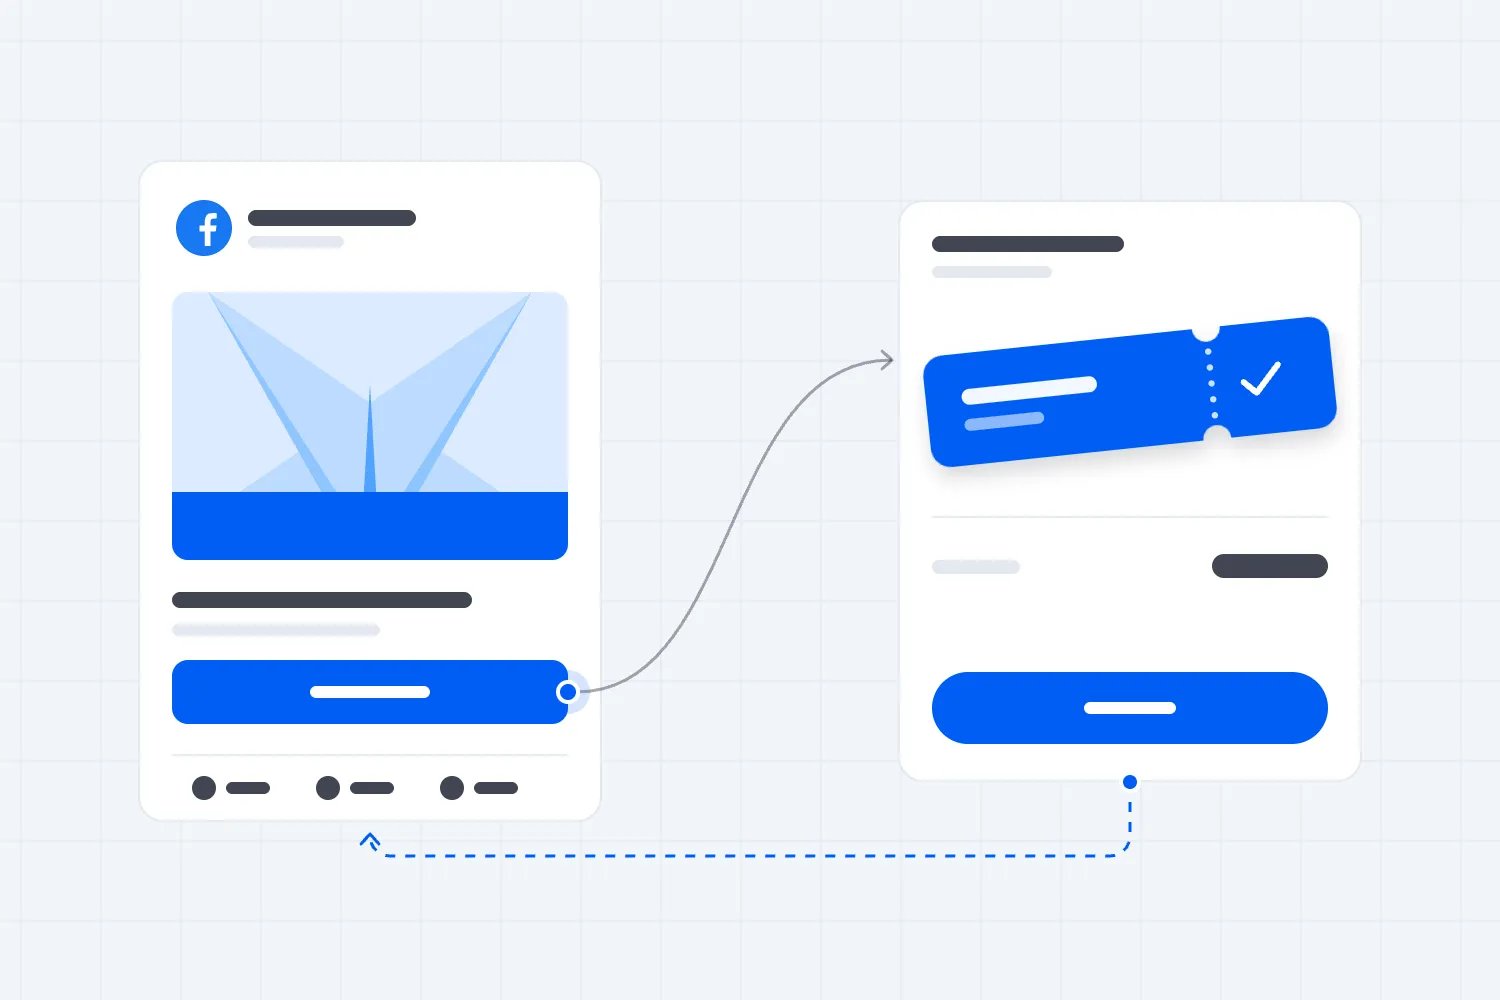
To run Facebook ads for events that sell tickets, send people to the right event page, measure completed purchases and set a spending limit your ticket margin can support. Then judge the campaign by the paid tickets it brings in and what those sales leave for the event, while checking how many buyers would have purchased anyway.
That sounds obvious. It becomes less obvious when an ad gets plenty of comments, the campaign reports a healthy return, and your ticket sales are still behind plan. The decisions below help you work out what to run, what to measure and when more spending makes sense.
If Loopyah manages your ads, it builds the campaigns and connects sale tracking for you. You still own the offer, creative, budget and decision to spend. The manual Ads Manager instructions in this guide are for organizers managing campaigns themselves.
Start with the tickets you need to sell
The first thing you want to do is separate the event's total sales target from the job you're giving Facebook.
Suppose your event has 400 paid places and 240 have sold. You reasonably expect another 40 sales through your email list, partners and existing demand. That leaves 120 tickets for the advertising plan to help sell. These are illustrative planning assumptions, not a forecast for your event.
If Meta, Google and a promoter are all working toward those same 120 tickets, they share the target. You cannot give every channel credit for filling the whole gap. Our Google Ads ticket-sales guide covers the separate setup for people actively searching for an event.
Now work out what you can pay to sell another ticket. Here's the example we'll use throughout, in USD:
Ticket face value: $80.
Money retained after applicable taxes, fees, discounts and expected refunds: $72.
Additional cost of serving that attendee: $12.
Contribution required toward fixed event costs: $30.
Amount reserved for profit and uncertainty: $10.
Amount left for advertising: $20 per additional ticket.
The arithmetic is $72 minus $12, $30 and $10, leaving $20. The chart splits the retained $72. All figures are illustrative assumptions for this example; none is an industry benchmark or a Loopyah customer result.
| Label | USD per ticket |
|---|---|
| Serving the attendee | 12 |
| Fixed event costs | 30 |
| Profit and reserve | 10 |
| Advertising allowance | 20 |
At that allowance, 120 additional tickets support up to $2,400 of advertising. You only earn that room to spend if the sales happen. It isn't a commitment to keep running until the account spends $2,400.
Recheck the fixed-cost contribution against realistic attendance. If fewer people come, the same venue and production bills may require more than $30 from each ticket. Use the event break-even calculation to check the whole event, then subtract any campaign production or management costs that also need to come from the advertising allowance.
Give the campaign a purchase to work toward
A Facebook event listing helps people discover the event, discuss it and find the ticket link. Our Facebook event setup guide covers that page. Buying an event response and buying a ticket are different results, so decide which one the advertising budget is meant to produce.
For paid tickets sold through a website, we'd start a self-managed campaign with the Sales objective and a completed Purchase event. Meta's campaign-objective training distinguishes the objective, conversion location and performance goal. Check all of them. Selecting Sales while ultimately asking for link clicks doesn't give the campaign the same instruction as asking for purchases.
In your campaign setup, identify the website as the place where the sale happens, select the correct data connection and choose the purchase event that belongs to the checkout. Meta changes layouts and available options, so use the descriptions in your account to confirm the outcome rather than following an old screenshot button by button.
Engagement campaigns can have a useful job, such as getting a new event in front of an audience or encouraging conversation. Give that work its own budget and measure it accordingly. Don't quietly count an "Interested" response as a ticket sale because it makes the cost per result look better.
If purchases aren't reaching Meta, fix the connection before judging a purchase campaign. Switching to a cheap click objective can buy traffic, but it doesn't repair missing sales data. And changing a checkout-start signal's name to Purchase only makes the report wrong.
Make the setup easy to review
Before building a self-managed campaign, confirm access to the correct business Page, ad account and purchase data connection. Check payment setup and any account restriction messages while you still have time to resolve them. The person who uploads the creative should not have to guess which account belongs to the event business.
Write down the choices that determine where the money goes. This short record is useful when a colleague or agency takes over:
Campaign purpose: paid admission for this event and performance date.
Desired outcome: completed website purchases.
Measurement: the selected purchase connection and its value definition.
Audience: the intended travel area and any required admission restrictions.
Buyer treatment: which current purchasers should be excluded from admission ads.
Spending authority: the approved test amount, remaining allowance and end date.
Destination: the exact event page used in the approved ad.
Review the published ad as a buyer sees it, including its identity, caption, destination and creative crop. A correct campaign setting doesn't catch a wrong Friday in the image. Give someone responsibility for making corrections after launch, especially if a ticket release or performance sells out while the campaign is running.
Test the purchase, including what gets counted
Open the advertised link on your phone and follow the buyer's route. Choose the ticket, review the final payable amount, complete payment and find the confirmation. Include any handoff between your website and the ticket checkout.
For a self-managed setup, ask whoever owns the checkout which purchase connection is supported. The Meta Pixel sends website activity through the browser. The Conversions API provides another connection for sharing events with Meta. Meta's Pixel and Conversions API training covers using them together. Neither removes the need to check the payment itself.
Ask for a demonstration with a test order, not just a screenshot showing that a connection is active. Confirm these fields:
Trigger: the purchase signal follows successful payment.
Order reference: each completed order has its own reference.
Value and currency: the amount matches the agreed reporting definition.
Quantity: you can distinguish one order from the tickets inside it.
Repeated signals: refreshing the confirmation doesn't create another paid order in your reporting.
Refund handling: you understand whether returned money changes the advertising report or needs a separate adjustment.
When the browser and server both send the same purchase, they need to identify it as one purchase. This is deduplication, meaning the duplicate report is recognized rather than treated as another sale. Meta's official Conversions API event definition states that the event ID and event name identify matching browser and server events. Ask your integration owner to verify those values together.
Do not install a second purchase connection because the first is hard to inspect. First establish what already sends the event. Test the consent choices and checkout routes your buyers actually use, and ask the provider to show the available diagnostics. A technical event can arrive correctly without proving that an ad caused the purchase.
On Loopyah, the AI Ads Manager sets up sale tracking for the campaigns it builds. Use the test to verify the buying experience and the resulting order, rather than adding a manual pixel installation on top. Your event sales dashboard is where to check the event's actual sales alongside its advertising results.
Reach people who can actually attend
Start with the journey someone would make to your event. A local evening workshop has a different travel audience from a destination festival. A huge audience estimate is no help if most people cannot reach the venue at the advertised time.
For self-managed campaigns, review the location controls available in the audience setup. Choose the places you can defend using previous buyer locations, transport routes and the draw of the event. Keep city and date visible in the ad even when your location settings look correct. Targeting is not a promise that every person who sees an ad can attend.
Then distinguish new prospects from people who already know you. These are planning groups, not a requirement to create a separate ad set for every group.
New prospects need a reason to care
Someone who has never heard of your event needs to understand the experience before they care about a deadline. Show the performer, subject or activity that makes the ticket worth considering. Start with a manageable audience approach, and avoid dividing a modest budget across lots of tiny interest combinations.
If you use automated audience expansion, read what the current interface treats as a suggestion and what it treats as a restriction. Don't assume every audience input confines delivery. Check the settings and the buyers you actually attract.
Interested people need their remaining question answered
Previous event-page visitors or people who engaged with your content may need different information. Show what the ticket includes, explain the running times, answer a repeated question or make a genuine ticket-release deadline clear.
Use only customer data you're entitled to use. Meta's Customer List Custom Audiences terms require the necessary rights, permissions and lawful basis. An old contact list is not automatically a suitable advertising audience.
Current buyers usually need a different message
For a campaign selling admission to this particular event, use a current purchaser exclusion where your audience setup supports it. Check that it corresponds to this event, not everyone who ever bought from you. A buyer from last year's show could be a good prospect for the next one.
An exclusion depends on the data available and matched, so don't promise that no buyer will see the ad. Keep confirmed attendees informed through the appropriate attendee communications. If you deliberately advertise an upgrade or another date to them, make that a separate offer with its own economics.
Make the creative answer a buying question
Your ad needs to help someone picture going. A poster containing every sponsor logo and the full timetable often asks the reader to do too much work before they understand the offer.
Start with a few meaningfully different ideas. For a paid live show, one might lead with a short performance clip. Another might make the date, venue and lineup exceptionally clear. A third could answer the question people keep asking in the comments. Those differences teach you more than changing the background color on the same message.
For the $80 event in our example, here's an illustrative brief. The details describe an invented show, so replace them with your actual offer before using it:
Buyer: people within a practical journey of the venue who enjoy live jazz.
Reason to attend: a seated evening featuring a specific quartet and an announced set.
Proof: an authorized clip of that quartet performing.
Buying details: the event's actual date, venue, start time and ticket availability.
Price: the real price for the available ticket, with payable charges clear in the buying journey.
Action: view the event and choose tickets.
Use media you have permission to advertise. If the clip is from a previous event, don't imply it shows the coming venue or lineup when it doesn't. Real experience beats a promise the production cannot deliver.
Supply creative that works in the placements you use. Preview vertical and feed versions on a phone. Keep the city, date and reason to attend readable, and make essential information understandable without sound. Check every version after automatic cropping or creative adjustments.
Watch the comments too. If people repeatedly ask whether seating is included, that is useful feedback for both the ad and the event page. Answer it in the next version. Don't call an ad a winner just because people enjoy discussing it; check whether the discussion is followed by affordable purchases.
Keep the comparison fair enough to learn from. An ad shown mostly to previous visitors has an easier selling job than one introducing the event to strangers. Note that audience difference when reading the result. If you want to test the creative itself, keep the offer and intended audience comparable, and change something that could reasonably explain the buyer's decision.
Keep the promise through checkout
Clicking the ad should take someone to the exact event, date or performance they saw. Sending them to a general calendar adds another decision, especially when several dates look similar.
Carry the same offer through the page. The advertised ticket should still be available. Any important age restriction, admission condition, start time or accessibility detail should be easy to find. If the total price changes at checkout, investigate whether the earlier wording gave the buyer a clear expectation.
The test is simple. Hand the page to someone who hasn't helped plan the event. Can they explain what they get, where they need to be and what they will pay? If they hesitate over a basic fact, fix the page before paying for more visits.
Set a spending limit and an end date
For the worked example, $2,400 is the maximum media allowance attached to the plan for 120 additional tickets. It is also a risk decision. Decide how much of that you can spend testing before you have evidence that the campaign works.
You could, for example, authorize an initial $300 test and keep the remaining allowance uncommitted. That is an illustrative choice for this event, not a minimum spend recommendation. The test may still be inconclusive if few buyers arrive or people take time to decide.
Before launch, record the review date, test allowance and conditions for further spending. Review when that date or allowance is reached. A review does not always mean making a change. If recent clicks haven't had a fair chance to become purchases, acknowledge that uncertainty instead of pretending the first few orders establish a reliable average.
In a self-managed Meta campaign, read the budget and schedule descriptions before publishing. Confirm whether the amount applies per day or across the run, where it is controlled, and when delivery ends. A daily figure isn't your whole-event spending limit. Check the account time zone and your ticket-sale cutoff.
Give the campaign room to work while staying close enough to catch obvious failures. Pause a broken destination or unavailable ticket immediately. You don't need to wait for a test to mature when people cannot buy what the ad offers.
Compare the ad report with paid orders
Keep three quantities separate: purchase events, paid orders and tickets. An order containing two tickets is one purchase, but it brings two people and twice the ticket revenue of a comparable single-ticket order.
In another illustrative checkpoint for the same event, suppose a $1,200 test is matched to 30 paid orders containing 60 tickets. The cost is $40 per order and $20 per ticket. Compare the latter with the $20 ticket allowance, then check cancellations, refunds and the contribution those tickets actually leave.
The chart shows alternative outcomes for that same $1,200 spend. Cost per ticket is spend divided by matched paid tickets. The $20 allowance is unchanged from the opening example. These are planning scenarios, not observed results, and a matched ticket is not proof of an additional sale caused by advertising.
| Label | Cost per ticket | Planned allowance |
|---|---|---|
| 30 tickets | 40 | 20 |
| 60 tickets | 20 | 20 |
| 90 tickets | 13.33 | 20 |
At 30 tickets, the campaign is spending twice the planned allowance per ticket. At 60, the reported cost equals the allowance; affordability still depends on how many sales were additional. At 90, the reported cost leaves more room, provided those sales are real and the campaign is adding business you wouldn't otherwise get.
Revenue return alone won't answer that. Sixty $80 tickets produce $4,800 of face-value revenue, or 4x return on $1,200 of ad spend. That ratio still leaves the taxes, fees and event costs in our example to pay. It is not a profit figure.
Attribution is the rule for giving an ad credit for a purchase. In its March 2026 measurement update, Meta announced that click-through attribution for website and in-store conversions would cover link clicks, with other social interactions moving into engage-through attribution. Read the settings and definitions in the report you're using rather than comparing old and new columns as if nothing changed.
Don't add Meta's credited sales to another platform's credited sales and call the sum your event's sales. The same buyer may have encountered both. Use paid orders to establish what happened, channel reports to understand the path, and a controlled test where feasible to estimate what would have happened without the ads.
Fix the weak point before increasing spend
If people aren't reaching the event page, inspect delivery status, the audience and the creative. If people arrive but don't choose tickets, review the offer and the information they need to decide. If checkout starts but payments don't complete, test the final price and payment journey.
If paid orders appear but Meta reports none, inspect tracking and reporting delays before calling the creative a failure. If the ad report looks stronger than the ticket record, check date ranges, order-versus-ticket counts, attribution definitions and duplicate signals.
And when sales are working, check inventory again. Our example began with 160 unsold places and an expectation that 40 would sell through other routes. If those other routes outperform the forecast, the number left for ads falls. Recalculate the gap before increasing the budget, and retire ads for sold-out performances or expired ticket releases.
Let Loopyah handle the campaign work
If your tickets sell on Loopyah, the AI Ads Manager connects your Meta account, builds the campaigns and sets up sale tracking. You provide a total budget, an end date and creative. The current setup asks for a square image and a vertical image or video, with optional instructions about who to reach and what to promote.
The agent manages targeting, placements and bidding, moves spending between ads and records its changes and reasons. You pay the advertising platforms directly and can pause campaigns. Its reporting connects advertising activity to orders in your Loopyah checkout, so you can inspect actual ticket sales alongside spend.
You still decide whether the event's margin supports that spend. Start with an affordable ticket target, verify the purchase journey and give the campaign a clear limit. Increase spending when the sales, the remaining inventory and the event budget support it.

Author: By the Loopyah Content Team
The Loopyah Content Team shares expert insights, practical guides, and industry updates to help event organizers create unforgettable experiences and stay ahead in the event planning world.