· 16 min read
How to promote an event on Instagram and sell tickets
To promote an event on Instagram, show the experience people are paying for, work with the people they already follow, and give every interested viewer a clear route to your ticket page. Use Reels to introduce the event, Stories to answer buying questions, and ticket sales to decide what deserves more of your time.
You don't need a feed full of countdown posters. You need someone to see your event, understand why it suits them, and feel ready to buy. This guide walks through the offer, checkout, content, partnerships, campaign schedule and measurement that connect those steps for a paid event.
Start with the tickets you need to sell
Before filming anything, write down who the event is for, what their ticket includes, and how many tickets your campaign needs to help sell. "People who like live music" is too broad to guide a useful post. "Local soul fans who want a seated Friday show that finishes before the last train" gives you something to work with.
We'll use an illustrative campaign throughout this guide. Imagine a 300-seat local soul night, four weeks away, with a goal of selling 240 tickets at $30 each. The prices, targets and results below are invented teaching examples, not customer results or Instagram benchmarks. All money is in US dollars.
That ticket goal represents $7,200 in gross ticket revenue. It says nothing about profit until you account for costs. Set your real target using your event break-even calculation, then decide how Instagram contributes alongside email, partner audiences and any other promotion you have planned.
For the example, we'll use Instagram as the main promotional channel, supported by the venue and performers. We will still leave room for sales whose source cannot be identified. A buyer can see your Reel, talk to a friend and return another way.
Give one person responsibility for checking sales and deciding the next message. If everyone is responsible for "posting more," nobody owns the question that matters when sales are slow: what is stopping the right people from buying?
Make the journey from your profile to checkout obvious
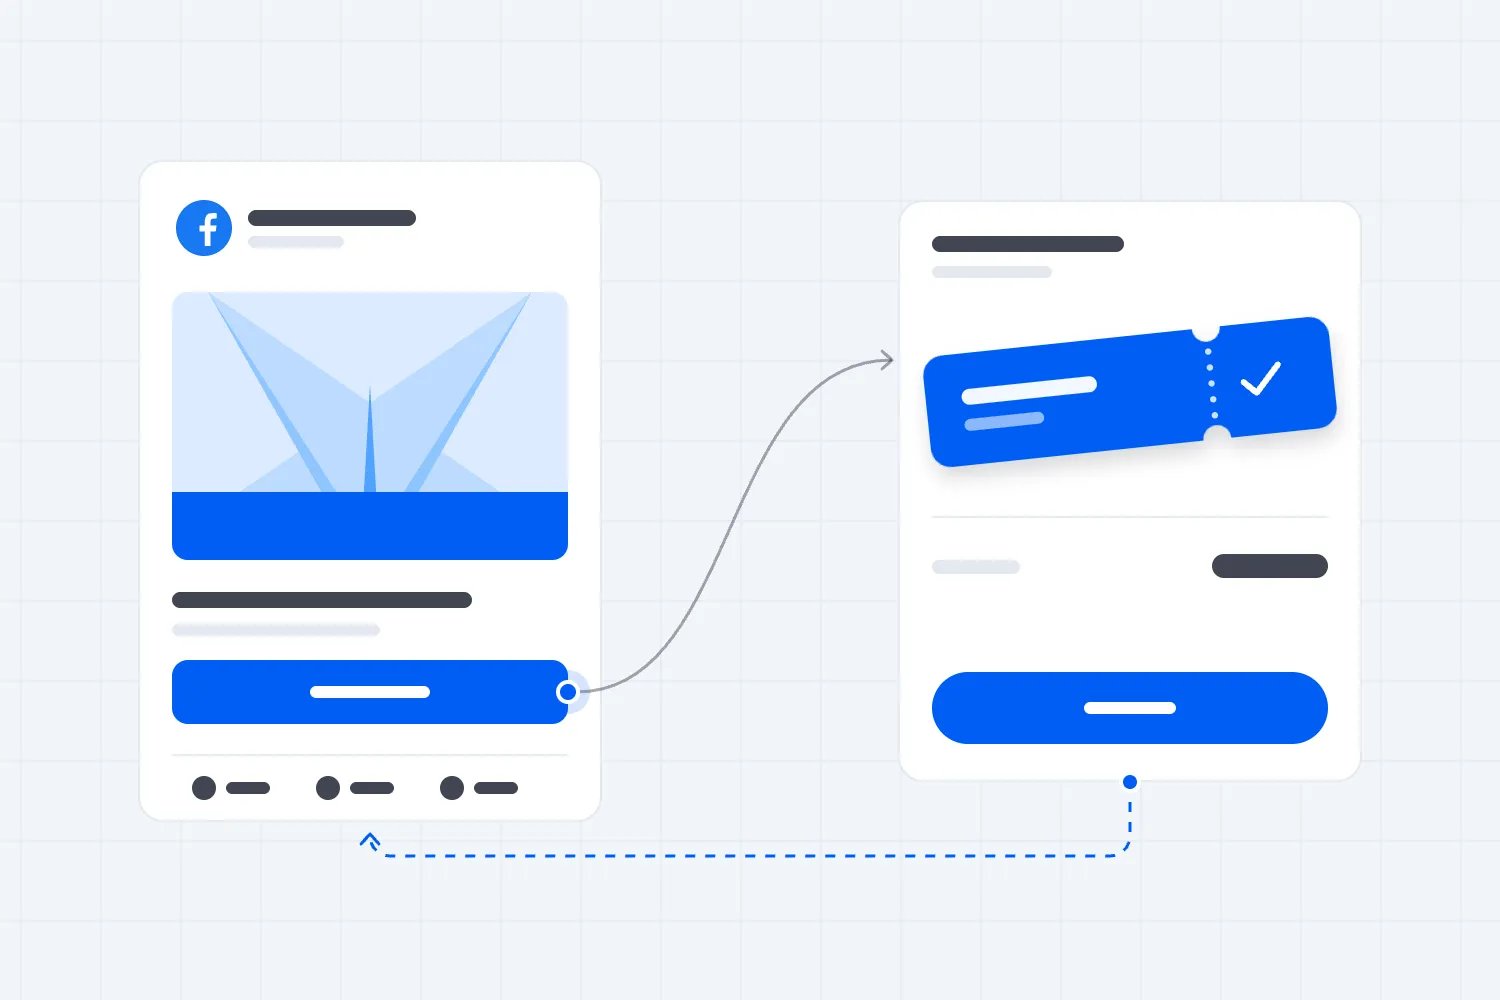
Imagine someone opens your profile after watching a performer clip. Can they find the event, date, city and ticket link without sending a message? Put those details where a new visitor can see them, and make the current event's ticket link easy to identify.
If you promote several events, label each link with its event and date. A visitor should not have to guess which "Tickets" button matches the show they just watched. Keep the wording on Instagram consistent with the ticket page, especially the venue, age restrictions, ticket inclusions and price.
Open that link on your own phone from inside Instagram. Check the page as a buyer would. Read the ticket options, check the total, and follow the purchase process far enough to spot unclear instructions. Ask someone unfamiliar with the event to do the same and tell you where they hesitate.
The destination matters because a good clip cannot fix an awkward purchase. With Loopyah's ticket checkout, buyers can purchase without creating an account, and their confirmation email links to their QR tickets. Your job is to make the offer and event information clear before they reach payment.
Avoid sending an interested buyer through an unrelated homepage before they can find the show. Link to the specific event or clearly labelled event selection page. After a cancellation, date change or sell-out, update your profile and active promotion so the next visitor gets the current information.
Build content around the questions buyers actually ask
A poster tells people an event exists. A useful campaign helps them decide whether to attend. Gather the questions you hear in comments, messages and conversations with previous buyers, then give each question an appropriate piece of content.
For the soul night, a performance clip answers "Will I like the music?" A venue walkthrough answers "What is the room like?" A short explanation of the evening answers "Can we make a night of this without staying out late?" An access post answers practical questions that a beautiful trailer may leave untouched.
Write one clear sentence before making each asset. "This post shows that the show is seated" is a workable brief. "This post drives awareness, engagement and conversions" gives the person filming almost no direction.
Keep the city, event type and relevant performers in normal language. Someone sharing the post with a friend should not need to explain the basics separately. Use relevant location information and hashtags where they help describe the event, but don't build your sales forecast around a promised hashtag formula.
Make the reason to buy specific. "A full live band playing the songs you send your friends" creates a different expectation from "an unforgettable experience." Only make the promise your actual programme delivers.
You can repeat the same offer through different evidence. The audience doesn't need a new event proposition every Tuesday. They need enough useful information to decide whether this particular Friday is worth their time and money.
Here is a draft caption for the illustrative event. Replace every detail with confirmed information before using it: "A Friday soul night you can sit down for. Join us at the Riverside Room for a full live band, doors at 7 pm and music finished by 10 pm. Your $30 ticket includes your seat and the full show. Book through the event link on our profile."
That caption answers more buying questions than a string of superlatives. If drinks are extra, say so on the ticket page. If seating is unreserved, make that clear before someone assumes they can choose a particular table.
You could turn the same information into a carousel. Let the first slide explain the event, then show the programme, the room and the practical details that affect the decision. End with the ticket route. Each slide should add something; repeating "tickets on sale" across the whole carousel uses attention without answering another question.
Use Reels to show the experience quickly
Start a Reel with the moment that explains why someone would come. For a music event, that might be a recognisable musical passage, a compelling performer or a view of the room during a previous comparable show. For a workshop, it could be the thing attendees will learn to make.
Show footage you have permission to use and identify previous-event material honestly. Don't imply that an old crowd or a different venue is this event's current setup. If you have no archive, film a rehearsal, a presenter explaining the session, or a walkthrough of the actual space.
Then add the details the clip cannot carry on its own. Give the event name, city, date and useful ticket information in readable on-screen text or the caption. Check the post with the sound off, and keep text away from interface elements that cover the screen.
Finish with a next step that matches the account's actual purchase route. "Friday soul night at the Riverside Room. Tickets through the event link on our profile" is clearer than "Don't miss out." Publish a linked Story alongside the Reel so someone ready to buy has a direct route available.
Batch the filming when the performers or venue team are already available. Capture a clean introduction, a useful performance moment and an answer to a real buyer question. Those are suggested assets for this campaign, not a production quota. If one strong clip explains the event better than several rushed ones, spend the remaining time improving the ticket page or following up with a partner.
Be careful with music in commercial promotion. Meta's licensed music guidance says its licensed library is intended for personal, non-commercial use and describes Sound Collection as an option for commercial use. Having a track available in your editor does not settle every permission question for your event promotion.
Agree footage and music permissions with the people supplying material. Save those permissions with the asset. A performer appearing in the clip does not automatically mean they control every recording or song used in it.
Use Stories to answer the question and offer the ticket
Stories are useful for a specific message that can lead straight to the event page. Meta introduced Story link stickers so viewers can follow a link from a Story. Use the Link sticker available in your account and test the destination after publishing.
For our soul night, make a sequence that shows a short performance, explains that the show is seated, then gives the date and ticket link. The sequence is an editorial choice for this event, not a required number of frames or an algorithm trick.
Label the action so people know what happens next, such as "Book Friday tickets." Put useful information on the linked frame itself. Someone might arrive there without seeing the earlier frames, and should still understand which event the link opens.
Use questions and replies to find what needs explaining. If several people ask whether seats are allocated, answer that publicly and make the ticket page clearer. Don't make every prospective buyer wait for a private response to the same basic question.
Show real deadlines and current availability when they matter. Before saying "last tickets," check the ticket inventory, including any holds or releases that could change the claim. A routine reminder does not need invented scarcity to be useful.
Give comments and messages an owner during the campaign. Helpful replies can remove uncertainty, but don't ask people to provide payment details in a message. Direct them to the official ticket checkout and keep booking support consistent with the information there.
Give performers and the venue a specific promotion job
Start with people whose audiences have a reason to care about the event. A performer with local fans or a venue with regular ticket buyers may be a better partner than a large account whose followers cannot attend.
Ask about audience location and previous relevant work before buying a promotional placement. Follower count alone does not tell you whether someone can bring buyers to your room. Agree the work, delivery dates and payment terms before assets are made.
Meta's Collabs feature lets accounts co-author posts and Reels. Once a collaborator accepts, the content can appear on their profile grid and reach their audience. Confirm that the partner has accepted; sending an invitation is not the same as completing the collaboration.
Give each partner a short brief containing the event promise, correct details, assets, ticket destination and publishing date. Ask the performer to explain why this particular show matters to their fans. Ask the venue to show the room and answer practical questions. Each should contribute something they can say credibly.
If you pay or provide something of value in exchange for promotional content, check Meta's branded content rules. Meta requires its paid partnership label for branded content, including relevant exchanges of value. A Collab label does not replace that requirement.
Where your ticketing and analytics setup supports it, give partners distinct links and agree how you'll read the reports. Be explicit about whether you are measuring orders or tickets, since one buyer can purchase several seats. Keep a record of what actually went live before judging a partner's contribution.
Run a four-week campaign with sales checkpoints
The right campaign length depends on the event, your audience and when they buy. Our four-week example assumes the programme and venue are confirmed and tickets are ready to purchase. For a broader schedule, use an event marketing timeline and adapt it to your actual sales history.
Split the 240-ticket goal into weekly targets you can review. In this illustrative plan, the targets are 40, 50, 70 and 80 new paid tickets. Those add to 240. They are planning assumptions, not a prediction that Instagram demand always rises near the event.
| Label | Ticket target |
|---|---|
| Week 1 | 40 |
| Week 2 | 50 |
| Week 3 | 70 |
| Week 4 | 80 |
Source: the illustrative campaign in this guide. Cumulative targets are 40, 90, 160 and 240 paid tickets. Use your own sales history to set real checkpoints.
Week one: make the event easy to understand
Publish the main announcement with the ticket page already working. Release the strongest performer clip, ask the performer to accept the agreed collaboration, and post a linked Story. Check the profile and ticket page after everything is live.
Start collecting buyer questions immediately. If the announcement makes people ask what their ticket includes, fix the explanation while the campaign is young. The first checkpoint is 40 paid tickets, not a particular number of likes.
Week two: help people picture themselves there
Show the seated room, explain the evening's timing and publish the venue's contribution. Answer the most common question from the first week. Give someone who liked the announcement a more concrete reason to make plans with a friend.
The cumulative target is now 90 tickets. If only 60 have sold, record the 30-ticket gap and investigate it. Don't quietly move the target just because the posts look good.
Week three: strengthen the reason to choose this event
Share a fresh rehearsal or programme detail that adds information. Ask the performer to explain what they are preparing, and use Stories to answer remaining buying questions. Repeat the clear ticket invitation without pretending you have a new announcement every day.
The cumulative target is 160. Review which work produced useful visits and recorded sales. Spend your remaining content time on the strongest relevant messages, while checking whether weak sales reflect the offer, the audience or the purchase process.
Week four: make the decision and arrival details clear
Publish confirmed timings, transport information, access details and current ticket availability. Coordinate the final performer and venue reminders so they contain useful, consistent information. Stop promoting sold-out ticket types.
The plan calls for another 80 tickets to reach 240. If the earlier weeks left a large gap, do not assume a final burst of posting will repair it. Review other available channels and your event budget while there is still time to act.
Measure sales without pretending you know every influence
Review Instagram activity and ticket reporting together. The useful questions are whether relevant people saw the content, whether they visited the ticket page, and whether purchases followed through the routes you can measure.
Use a consistent reporting period and record when each major post or partner placement went live. Look at the definitions in the tools you use. Views, accounts reached, clicks, sessions, orders and tickets describe different things, so don't quietly swap one for another.
Start with the reporting your ticketing platform already provides. Loopyah shows sales by source alongside ticket sales, so you can review recorded contribution without rebuilding the ticket ledger yourself. If you need more detail than the report shows, establish what can actually be tracked before promising separate results for every post.
For each review, choose a reporting cutoff and use it consistently. Give recent posts time to accumulate meaningful information, but don't postpone an obvious repair such as a broken ticket link. Compare similar pieces serving similar jobs. A practical Story that answers a buying question should not fail merely because an entertaining Reel received more views.
Instagram's professional-dashboard best practices includes guidance on understanding engagement and personalised account advice. Use that alongside your own results instead of borrowing a universal posting frequency. More production only earns its cost when it helps your event business.
For the illustrative campaign, suppose the final reporting assigns 70 tickets to the organizer's Story links, 50 to the profile link, 65 to performer Story links and 35 to venue Story links. Another 20 tickets have no assigned source. The total remains 240.
| Label | Paid tickets |
|---|---|
| Organizer Story links | 70 |
| Organizer profile link | 50 |
| Performer Story links | 65 |
| Venue Story links | 35 |
| Unassigned source | 20 |
Source: invented results for the worked example. Each paid ticket appears in one reporting group. These numbers are not observed performance, a conversion benchmark or proof that a particular post caused a purchase.
The source report would justify examining the performer partnership further. It would not prove that the performer created 65 additional ticket sales. Some buyers may already have planned to come, and others may have encountered several posts before purchasing.
Keep unassigned sales visible. Don't distribute them across Instagram posts to make the report look complete. Likewise, don't add figures from separate attribution reports unless you know they count mutually exclusive tickets. Reconcile the campaign total against completed paid tickets and handle refunds consistently.
Then make one useful change. If people visit the page but don't buy, check the offer and checkout before making more videos. If the right people barely see your content, work on the opening, relevance or partner distribution.
Count the work and prepare the next event
Organic promotion still uses time and money. Record filming, editing, partner fees and staff hours. A Reel that takes most of a day to produce has a cost even when you never pay to distribute it.
Compare that work with what you learned and the sales you can reasonably connect to the campaign. Keep effective assets available for another relevant use, with the necessary permissions, but update event details before reusing them. An old date hiding in a polished video can undo the care you put into the rest of the campaign.
On event day, keep the profile information accurate and make arrival instructions easy to find. Assign someone to capture usable material without compromising their operational job. Decide in advance which moments you need and how you'll handle filming permissions.
Afterwards, show what attendees actually experienced and thank the people who helped deliver it. If the next event is ready, give interested viewers a clear next step. Our post-event social media examples show how to turn that material into useful promotion for the next show.
Work it backwards
To effectively promote an event on Instagram, start with a ticket goal and a working purchase route. Show the experience through clear content, give performers and the venue useful roles, and answer the questions that keep people from committing.
Then check sales against the plan. Keep what helps the right people understand and buy the event. Change what leaves them watching, wondering or struggling to find the tickets.

Author: By the Loopyah Content Team
The Loopyah Content Team shares expert insights, practical guides, and industry updates to help event organizers create unforgettable experiences and stay ahead in the event planning world.