· 21 min read
How to organise a paid workshop: planning, ticket sales and delivery
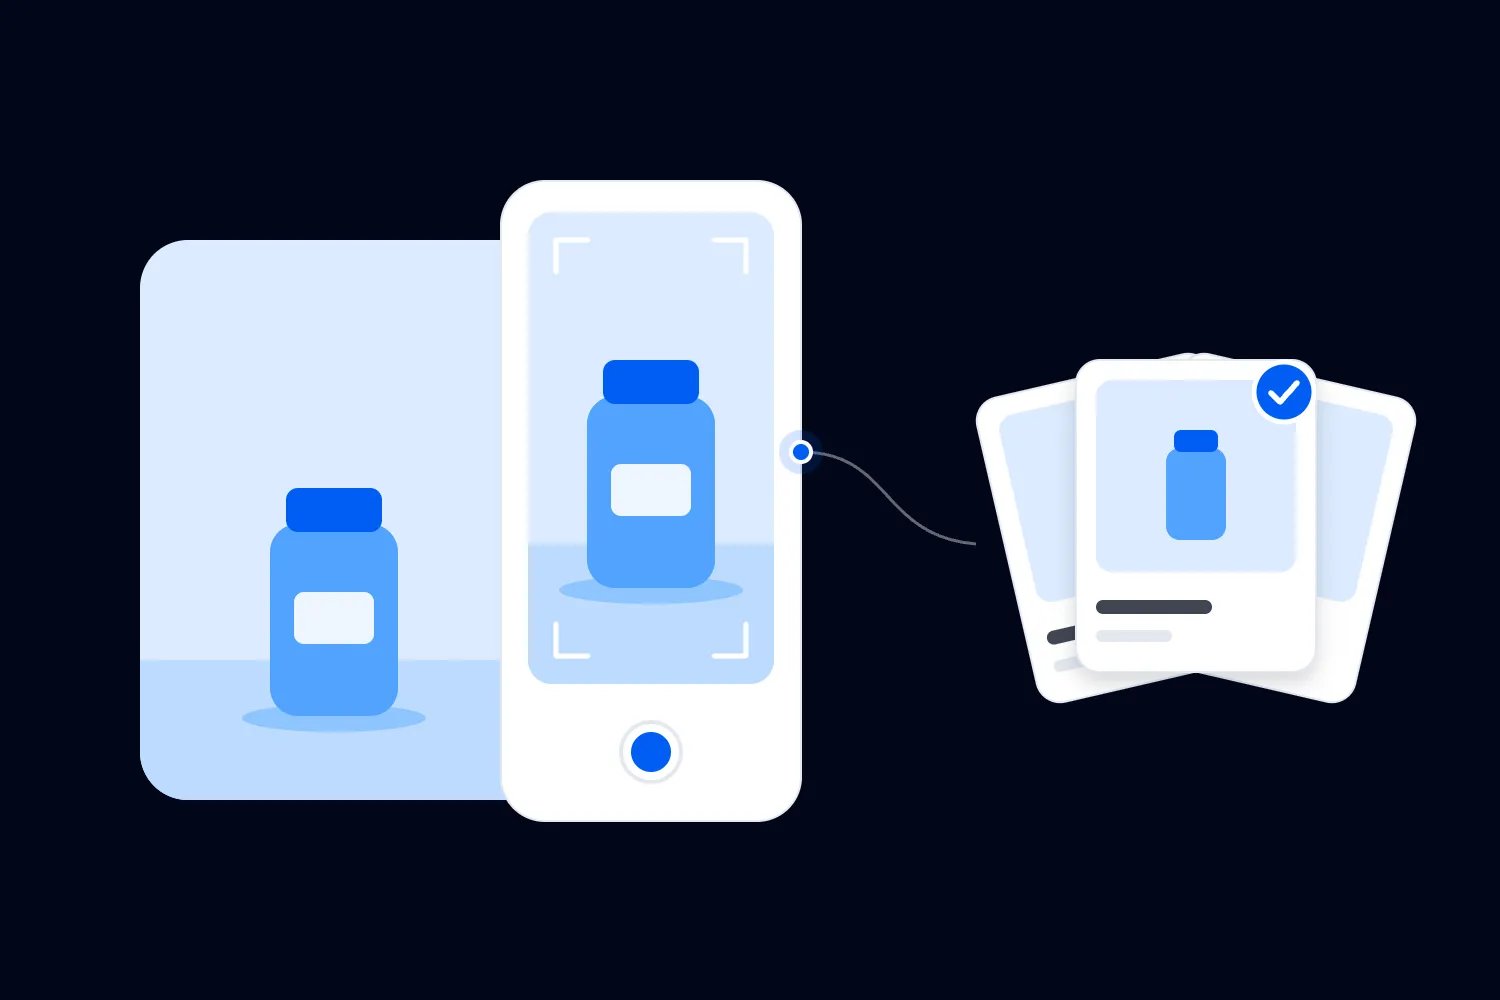
To organise a paid workshop, start with what people should be able to do when they leave. Build enough practice and feedback into the session to deliver that result, agree the instructor and venue arrangements, then sell a clear offer with a realistic capacity. Your preparation, teaching and follow-up should all support the promise on the ticket page.
Sounds straightforward. Then the venue asks for a deposit, your instructor sends a presentation that could fill a whole day, and someone wants to know whether they need to bring equipment. Now you're making decisions that affect what you've already sold.
Let's work through those decisions in the right order. We'll use an illustrative example throughout: a three-hour smartphone product photography workshop for small retailers, with 12 places, one instructor and an event host. Attendees bring a charged phone and a small product. The organiser supplies the tabletop setups and practice materials. These are planning choices for our example, not industry benchmarks.
You can adapt the same process to a writing class, creative workshop or practical business session. The aim is to deliver something worth paying for and build a workshop you can run again without starting from scratch.
1. Write the promise before you book the room
The first thing you want to do is finish this sentence: "By the end of this workshop, you will be able to..."
For our photography session, the answer is "set up, photograph and edit three product images using your own phone, then repeat the setup at home." That's specific enough to shape the lesson and useful enough for a potential buyer to judge.
"Learn about product photography" leaves too much open. Are we covering lighting theory? Are people watching a demonstration? Will they take any photographs themselves? You might know what you mean, but your buyer can't see the plan in your head.
Cornell's Center for Teaching Innovation recommends learning outcomes that describe observable actions. Its guidance also connects those outcomes to the activities and assessment you choose. For a paid workshop, use that thinking to connect your sales promise to what happens in the room.
Write down the starting point as well. Our session is for retailers who already use a smartphone but struggle to make their products look clear and consistent. It doesn't require photography experience. It also doesn't cover studio flash or building an online shop.
That boundary helps you answer awkward requests later. If someone asks for a full website review during the class, you can explain that today's time is reserved for creating their images.
Before committing money, show the offer to people who fit that audience. Ask what they'd use the photographs for, what currently goes wrong and what would prevent them attending. Listen for practical objections you can resolve, such as the session time or uncertainty about equipment. Compliments alone don't tell you whether anyone will pay.
Turn those conversations into a small brief you can share with the instructor. Keep the audience, starting ability, finished result and exclusions together. Add the question you still need to answer before selling. For our example, that might be whether the instructor can teach the editing exercise across the phone models people actually own. Resolve it in a trial, then describe any device requirements on the ticket page. "Bring your phone" is only a useful promise if you've checked what that includes.
2. Agree who teaches, who organises and who pays for what
A good practitioner isn't automatically a good workshop instructor. You need someone who can explain their process to a beginner, spot where people get stuck and keep the session moving without making slower learners feel like a problem.
Ask a prospective instructor to walk you through one exercise. What will they demonstrate? What will attendees do next? How will they know someone needs help? Request examples of relevant teaching, and watch a short rehearsal if the format is new to both of you.
Then put the arrangement in writing. Agree the session outcome, public description, preparation work and materials deadline. Include the delivery fee, payment timing, expenses and what happens if either side cancels. If you're proposing a share of revenue, define which revenue counts and which deductions come first. A percentage without those details leaves plenty to argue about.
Be equally clear about materials. Who creates the worksheet? Can you reuse it at a second workshop? Can attendees keep it? Are you allowed to record the instructor or use a demonstration clip to promote the event? Agree these points before you order a camera or announce a replay.
For the photography example, the instructor owns the teaching plan and checks the equipment list. The event host handles ticket enquiries, venue coordination, setup, arrivals and follow-up. During the class, the host deals with a late attendee or missing charger so the instructor can keep teaching.
If you're both organiser and instructor, those jobs still exist. Decide what you can prepare in advance and which tasks need another person. You can't give someone feedback while you're downstairs trying to find a buyer whose ticket won't load.
Finally, agree a fallback if the instructor becomes unavailable. A substitute needs to be able to deliver the advertised result. If that isn't possible, use the cancellation or rescheduling arrangement you've communicated to buyers. Don't quietly replace the workshop with a different experience.
3. Choose a venue for the activity people are buying
Visit the room with the exercise in mind. A space that looks lovely in a listing can be awkward once you add tables, equipment, bags and an instructor trying to reach the person at the back.
Our workshop needs six tabletop stations, with two attendees sharing each one. Each person still creates their own images. We need room to swap positions, see the demonstration and move between stations without stepping over charging cables.
Test the details that could interrupt the work. Look at lighting at the time the workshop will run. Check the available power, the screen connection and whether neighbouring rooms create noise. If the exercise depends on internet access, try the connection where attendees will sit. Ask about loading access and where equipment can stay before doors open.
Confirm capacity for the actual layout with the venue. Don't take the room's advertised seated capacity and assume that it works for practical activities. The UK's Health and Safety Executive includes circulation space, exits and shared responsibilities in its venue guidance. Use those prompts in your venue conversation, alongside the requirements that apply locally.
Accessibility needs the same practical attention. Check the route from arrival to the workspace, toilets, seating and the demonstration position. Ask whether someone can work at a table from a seated position and still reach the materials. Our event accessibility checklist gives you a wider set of questions to work through.
Get the hire details in writing: access times, furniture, cleaning, equipment, staff support, deposit and cancellation terms. Name who handles an incident and how to reach the venue contact during the session. Include setup and pack-down in the booking. In our example, the class runs from 10 am to 1 pm, but the room is booked from 8:45 am to 2 pm.
4. Set a capacity you can teach well and afford to run
Your ticket limit has to work for the lesson, the room and the budget. Start by asking how many people the instructor can help during the exercises. Then check whether the layout, equipment and staffing support that number.
In our example, 12 places means six shared stations. Adding more tickets would mean more waiting, another station or less attention per person. Decide which change you'd make before treating the extra sales as available revenue.
Build the budget using the full job. Include instructor preparation, venue access, materials, paid help, promotion and the time you spend organising. Check when you owe each payment as well as how much you owe. You may need to pay a deposit before ticket revenue reaches your bank.
Our paid workshop pricing guide walks through the calculation, including minimum sales and the effect of discounts. Do that work before choosing a price because another class nearby charges something similar.
For this operating plan, you need a ticket price, a minimum number of paid bookings and a date when you'll decide whether the session goes ahead. Choose that decision date around your actual commitments. If a supplier needs the final quantity before then, you have a mismatch to resolve.
Write down what you'll do if sales fall short. You might have an agreed way to reduce a flexible cost while preserving the offer. You might decide to run a smaller first session within a loss you can afford. Or you might cancel under the terms you've given buyers. The decision should be deliberate.
Don't let a hypothetical second workshop pay for the first one in your budget. Repeat bookings are an opportunity. They aren't money you've collected. The first session needs either a workable financial plan of its own or an explicit, affordable investment decision.
5. Build the ticket page around the buyer's questions
Picture someone opening the page on their phone during a lunch break. They like the idea, but they need to know whether it fits their ability, schedule and budget before they buy.
Lead with the result and who the workshop suits. Then explain how the session works. For our example, say that attendees practise taking and editing their own photographs, share a tabletop station with one other person and receive instructor feedback. If they expect a private studio setup for the whole morning, you'll have a disappointed buyer even if the teaching is excellent.
Make these details easy to find:
The date, start and finish times, venue and arrival time.
Who it's for, any prerequisites and what the session won't cover.
What attendees will make, complete or be able to do.
Who teaches it and their relevant experience.
What's included, what to bring and any additional costs.
Access information and a contact for questions or support requests.
The total price, cancellation terms and what happens if the organiser cancels.
Show a realistic example of the work a beginner might produce. An instructor's heavily retouched portfolio can set the wrong expectation for a phone photography class. Explain which image illustrates the exercise and avoid presenting an example as an attendee result if it isn't one.
Keep ticket choices understandable. If everyone gets the same teaching and materials, a standard ticket may be all you need. Only introduce a separate option when it represents a real difference a buyer can understand.
Loopyah's ticket-selling tools let you set ticket types and quantities, with confirmation emails linking buyers to their QR tickets. That gives you the booking and entry record. You still need to write the promise accurately and decide how many people the workshop can serve.
Read the page against the instructor brief before it goes live. Equipment, timings and the finished result should match. Then check the published page and checkout on your phone, including the final price a buyer sees.
A short description for our example could read:
"Make your product photos easier to repeat. In this beginner workshop for small retailers, you'll practise lighting, photographing and editing a product with your own smartphone. You'll leave with three finished images and a setup guide to use at home. Bring a charged phone and one small product; we'll provide the backgrounds and shared tabletop equipment. You don't need photography experience."
That paragraph gives the buyer the core offer. The rest of the page still needs the practical details above. Keep a copy of what you sold so you can check any later change against it. If the instructor proposes replacing individual practice with a group demonstration, you can see exactly which promise would change.
6. Give promotion a job beyond announcing the date
"Tickets now available" tells people they can buy. It doesn't give someone who has never heard of you much reason to do it.
For the photography workshop, start with a problem the buyer recognises: their products look different in every photograph, and fixing the images takes too long. Show one small improvement the instructor can explain clearly. Follow it with the outcome of the workshop and the booking link.
That demonstration gives the reader something useful while showing how the instructor teaches. You don't need to squeeze the whole lesson into a social post. Let a buyer see enough to decide whether they want guided practice.
Choose places where the intended audience already pays attention. In our example, that could include the instructor's audience, local retailer networks and past attendees who have agreed to receive relevant offers. Give partners a short description, the date and a direct booking link. Tell them exactly who the workshop suits so they don't promote it as a general photography class.
Keep a record of the questions people ask. If several buyers ask whether older phones are suitable, check the answer with the instructor and add it to the page. If they ask whether they can bring jewellery or food, explain the size and type of product the practice setup supports. Each answer makes the offer easier to judge.
Review paid bookings as you approach your decision date. Plenty of reactions with few sales is a reason to inspect the offer and booking experience. It isn't proof that people simply need more reminders.
Change one meaningful thing at a time so you can learn from it. You could make the result clearer, show the instructor teaching or answer an equipment concern. Avoid responding to every quiet day with a new discount. You'll make the offer harder to understand and may give away money without addressing the reason people hesitate.
7. Prepare people and materials before the final week
Once someone books, help them arrive ready to take part. The confirmation establishes that they have a place. Your preparation message explains what they need to do with it.
For our example, attendees bring a charged smartphone, a charger and one product small enough for a tabletop setup. The instructor teaches basic cropping, brightness and colour adjustments in the phone's built-in editor. No paid app or new account is part of this offer. Check the phone models attendees will use and rehearse the exercise on those systems; the controls won't all look the same. Put any device restrictions on the ticket page, with a contact for buyers who are unsure.
Ask attendees to check that they can take, edit and save an image before arriving. Give anyone who gets stuck a way to contact you. If your own workshop requires a separate app, disclose its cost and account requirements before purchase, then send setup instructions early enough to resolve problems.
Ask only for information you'll use. Their main photography problem helps the instructor choose examples. A private contact route for access requirements helps you arrange support. A long questionnaire about their whole business probably doesn't help you teach this session.
W3C's accessible events guidance covers advance materials, accessible formats and asking about support needs. Apply that to your worksheet and demonstrations. Offer readable instructions people can refer to during practice, and describe the relevant visual details as you teach.
For the equipment, work through the exercise with the instructor and pack by station. Count the shared items, individual materials and spares separately. Label equipment that needs returning. Test the actual cables and devices you'll use, including the connection between the instructor's phone and the screen.
Keep a final preparation checklist the host and instructor can use together:
Each advertised activity has its equipment, instructions and a workable fallback.
Each attendee has the arrival details and any required preparation instructions.
Every support request has an owner and an agreed response, with private details shared only where needed.
The venue contact has confirmed access, the final layout and the plan for getting everyone out if necessary.
The host can find the current booking record, deal with an enquiry and contact the instructor without stopping the room.
The follow-up resources are ready to send, rather than still on someone's list of things to write.
Replace "sorted" with something you can check. "Projector sorted" doesn't tell the host whether the cable is in the bag or still at the instructor's home. Put a name beside anything outstanding and agree when it will be ready.
Here's an illustrative preparation schedule for this workshop. Move the dates earlier when venue, supplier or access arrangements need more time.
Four weeks before: agree the offer, instructor, room, budget and delivery responsibilities; open ticket sales.
Two weeks before: review paid bookings against the planned decision date; confirm equipment and send preparation instructions.
One week before: rehearse the exercises and running order; resolve outstanding attendee questions and support arrangements.
Two days before: confirm the attendee count, pack the stations and send the final arrival details.
On the day: test the room, brief the host and instructor, then open arrivals at 9:40 am.
Loopyah's attendee email tools let you select the relevant ticket holders and schedule messages. Prepare those emails while the details are fresh, then check them before they send if anything changes.
8. Build a running order with time to practise
Work backwards from the result. If people leave with three usable photographs, when will they take them, improve them and save the final versions? Put those blocks in before filling the morning with explanations.
Cornell's active learning guidance describes activities that let learners apply ideas and receive timely feedback. For this workshop, that means the instructor demonstrates a step, attendees try it and the instructor helps them make a correction while they're still working.
Here's the illustrative three-hour teaching plan:
10:00 to 10:15: welcome, explain the outcome and check everyone's phone and product are ready.
10:15 to 10:35: demonstrate a simple lighting and background setup, explaining each decision.
10:35 to 11:15: first photography exercise, with pairs taking turns and the instructor circulating.
11:15 to 11:30: break and reset the workstations.
11:30 to 11:45: demonstrate selecting and editing images with the tools attendees will use.
11:45 to 12:25: second practice block, including reshoots, editing and individual help.
12:25 to 12:50: review examples, compare work in pairs and answer questions that help the whole group.
12:50 to 1:00: save the three finished images, recap the home setup and explain the follow-up resources.
That's 180 minutes including the break. Setup, check-in and pack-down sit outside it. Treat it as a starting plan to rehearse, not a promise that every exercise will take exactly as long as you imagined.
Agree what you can shorten if a section runs over. In this example, you'd cut an optional demonstration before removing the time attendees need to finish and save their work. Keep the break and finish time visible, especially when people have planned transport or other commitments.
Write an instruction and a finish check for each exercise. For the first photography block, attendees take turns arranging the product, choosing the background and taking a clear image. Halfway through, the host prompts the pairs to swap. Before moving on, the instructor checks that both people have an image to edit. That catches a quiet attendee who let their partner do everything. It also tells you whether the next demonstration can start or whether the group needs another explanation.
Give the host a version that includes practical cues, such as when to distribute materials and reset the tables. Our event run-of-show template can help you add responsibilities without crowding the attendee-facing agenda.
9. Rehearse the awkward bits, then run the room
A rehearsal doesn't need an audience of 12. Ask someone unfamiliar with the exercise to follow the instructions while you watch. Resist explaining every missing step immediately. Those gaps are what you're trying to find.
Can they see what the instructor is doing? Do they know when to swap with their partner? Can they find the image they've just edited? Record where they hesitate and change the instructions before printing them.
On event day, walk the attendee route before opening arrivals. Check the entrance sign, room access and toilets, then sit at the least convenient workstation. Test the view and sound from there. Lay out the materials and keep spares somewhere the host can reach without interrupting the teaching.
Brief the team on the likely problems. Who welcomes late arrivals? Who helps with a booking question? Where does someone go if they need a quieter break? What happens if the screen fails? For our workshop, printed setup diagrams and an agreed small-group demonstration provide a fallback, but you still need to test whether everyone can follow it.
At the start, tell people how the morning will work and when they'll get help. Explain that they can ask a question without waiting until the end. Give them the finish time and break time. Then get them doing something relevant early, such as taking a starting photograph they can compare with their later work.
Watch the work during practice. Someone nodding through the demonstration may still be stuck on the first step. Ask them to show you what they've done and offer a specific correction they can try.
If the room has mixed experience, prepare an optional extension for confident attendees. In our example, they could try a second background while others finish the basic setup. Don't keep adding content for the fastest person until the beginners lose the session they bought.
If something changes before arrivals, put one person in charge of the update. A room move needs a corrected message, clear signage and someone at the original entrance. An instructor delay needs an honest revised plan. Check that the change still leaves enough time to deliver what buyers paid for. Starting late and hoping to recover the time is a poor plan when the workshop depends on individual practice. Tell attendees what has changed, what you can offer and how to contact you, then keep the host and instructor working from that same information.
10. Finish the job after people leave
Before anyone packs away, check that they have the work you promised. In our example, each attendee should know where their finished images are saved and how to repeat the setup. If someone hasn't reached that point, find out what they need while the instructor can still help.
Tell attendees when the resources will arrive and send them when you said you would. Include the worksheet, the key setup steps and answers to useful questions that came up. Only promise ongoing personal feedback if the instructor has agreed to provide it and the budget covers the time.
Ask for feedback you can act on. "What was the most useful part?" gives you a different answer from "Where did you need more help?" Add a question about anything that made participation difficult. Our guide to post-event survey questions can help you choose a short set.
Review the session with the instructor and host while the details are fresh. Compare the promised outcome with the work people completed. Look at where the plan overran, which materials went unused and what questions kept coming up. Then close the accounts using the actual costs, including refunds and extra preparation time.
Write the changes into the next version of the plan. If everyone struggled with editing, allow more guided time or simplify the tool. If sharing equipment caused delays, improve the rotation or change the setup before increasing capacity.
Keep the commercial review specific too. Record paid places, attendance, refunds, ticket income and final costs. Compare the amount left with the hours you put in. A full room can still be disappointing financially if you forgot the preparation work or bought materials you won't reuse. Keep reusable equipment separate from consumed supplies so you can see what another session would actually cost. That gives you a sensible basis for deciding whether to repeat it, change the price or redesign part of the delivery.
A follow-on workshop should answer the next useful question. Our photography attendees might want help creating a consistent set of images across a product range. Ask about that interest before booking another room. Repeat the beginner session for a new audience if that's where the demand is.
Keep promised resources separate from promotional offers. The UK's ICO explains that adding promotion to a service email changes how the message is treated under its direct marketing rules. Use the marketing permissions and rules relevant to your audience when inviting them back.
Your final check before opening sales
Read the ticket page out loud to the instructor. Can you deliver every promise with the time, room, equipment and people you've agreed? If one part still depends on something unconfirmed, resolve it before buyers start making plans around it.
A paid workshop works when the offer and delivery fit together. Give people a clear result, enough time to practise and the support to finish. Keep track of what it cost you to deliver, fix the parts that caused trouble and use what you learned when planning the next date.

Author: By the Loopyah Content Team
The Loopyah Content Team shares expert insights, practical guides, and industry updates to help event organizers create unforgettable experiences and stay ahead in the event planning world.