· 26 min read
Best Event Check-In App: Compare Top Apps on Reliability, Speed and Lines
The best event check-in app is the one that can validate your tickets, show staff a clear decision and handle the arrival conditions at your venue. Start with the check-in tool connected to your ticketing platform. Add a separate system when you need something specific, such as on-demand conference badges or session attendance records, and have tested how the systems exchange changes.
A quick scan in a sales demonstration doesn't tell you what happens when a buyer arrives without their ticket, two entrances scan the same code or the connection drops. Those are the situations worth comparing. You also need to know whether the people working the door can operate the app without borrowing an administrator's account.
This guide compares Loopyah, Eventbrite Organizer, Ticket Tailor's Check-in app and Cvent OnArrival by the jobs they suit. Then we'll work through a multiple-entrance example, a practical trial and the costs to include before you commit. The example figures are invented planning inputs, not published scanning benchmarks or customer results. Product descriptions were checked against the providers' documentation in October 2026.
Start with the admission job your app needs to do
For a paid club night, comedy show or workshop, the core job is usually straightforward. A person presents a ticket, staff confirm that it admits them to this event and the system records the admission. You need a reliable way to find the ticket when its code isn't available, along with a process for questions that require more investigation.
A paid conference can add different jobs. The registration team may need to print a name badge, replace a damaged badge or distinguish access to separately booked sessions. None of those follows automatically from having an event-level QR scanner. Write down which job matters before comparing a list of features that may have little to do with your event.
Keep four functions separate when you assess a demonstration:
Reading a code: the camera or scanner recognizes the information in the QR code.
Validating admission: the system checks whether that ticket currently permits entry to the selected event or session.
Recording entry: the admission is saved, with enough information for your team to understand what happened.
Sharing the result: other authorized devices receive the updated ticket status when the system can communicate with them.
An app can perform one function while another is unavailable. Reading a QR code is not proof of a valid admission. An offline device might validate against a previously downloaded list while being unable to share its new check-ins with another gate. The distinction matters when a supplier describes an app as fast, real-time or available offline.
For your shortlist, describe the event in ordinary terms. Include the ticket source, entrances, expected arrival pattern, required checks and the person who resolves exceptions. A venue with one door and no badges needs a different setup from a conference with several session rooms. Our QR ticketing guide explains the ticket-validation questions in more detail.
Compare the apps by the work they actually support
There isn't a defensible universal speed ranking here. We haven't run a standardized performance test across these products, so the comparison below identifies suitable starting points and questions to test. A feature being available also doesn't establish that your selected plan, device and configuration include it.
Loopyah: start here when you sell your tickets on Loopyah
Loopyah connects the ticket order and door list, so the practical benefit is avoiding a separate attendee-list import for ordinary admission. Its current check-in guide describes scanning ticket QR codes or finding an attendee by name and manually marking them checked in. Door managers and administrators can perform check-in, and the ticketing page describes giving door staff check-in access without sharing the organizer's login.
That makes Loopyah a sensible first option for a paid event already selling through the platform. Follow the Loopyah check-in instructions, then rehearse your ticket problems and entrance layout. The public instructions don't establish how offline check-ins reconcile across disconnected devices. Confirm that behavior before making offline operation a requirement of your plan.
Don't assume that event-level check-in includes conference badge printing, session accreditation or a live count of everyone physically inside. Those are separate requirements to verify. Loopyah's Tap to Pay is also a different workflow for collecting payments for merchandise, drinks and extras; it should not be treated as a way to issue a ticket.
Eventbrite Organizer: assess it first if your tickets are on Eventbrite
Eventbrite's current Organizer documentation describes camera scanning, manual ticket lookup and check-in roles for team members. Its check-in instructions also distinguish normal check-in, checking someone out and validating a ticket without recording entry. Those differences are useful if your operation needs staff to perform more than one kind of scan.
The reason to assess it is the connection to an existing Eventbrite event. Before adding a separate door system, test whether the native workflow meets your admission rules. Check the selected scan behavior on every device and demonstrate the result at another entrance. Don't infer the behavior of a disconnected multi-device setup from an ordinary connected scan.
If you're choosing a ticketing platform as well as a door tool, our Eventbrite comparison covers that broader decision. Keep the check-in trial focused on the tickets and devices you would actually use.
Ticket Tailor Check-in: examine the offline preparation and sync conditions
Ticket Tailor's help describes scanning or searching a door list and using multiple check-in devices. Its offline instructions require the door list to be downloaded in advance. Its synchronization guidance says the device needs to be online, with the app open and in use on an appropriate event screen, to share ticket and check-in data.
That is a useful distinction to test if unreliable connectivity is central to your decision. Ask what each disconnected device knows about a ticket and what happens when both reconnect. Also test a ticket sold after a device downloaded its list. The existence of an offline mode doesn't by itself answer either question.
Our Ticket Tailor comparison looks at the wider platform choice. For the door, compare the demonstrated failure behavior with your venue's requirements rather than assuming that any offline label covers every task.
Cvent OnArrival: consider it when conference registration needs more than entry
Cvent's OnArrival documentation describes an event-registration workflow with options for check-in and more specialized onsite work. Its help distinguishes functions available offline after the event data is downloaded from activities requiring a connection. The offline guide lists registration changes, payments and synchronization among the tasks that need connectivity.
That makes it worth assessing for a paid conference where registration, badges and session processes justify a more involved setup. Ask which product level and hardware support your exact badge and session requirements. Include printers, consumables, setup and support in the comparison, rather than treating the app alone as the complete purchase.
For an ordinary ticketed show, Loopyah's connected admission workflow may be the simpler starting point. For a conference where a missing badge stops entry to paid sessions, the extra registration requirements can justify evaluating a specialist arrangement. Your trial should settle the fit; the number of available features won't.
If you add another app, test how ticket changes reach it
A separate check-in tool needs an agreed way to recognize the tickets you sold. That might be a supported connection or an imported list, but neither should be assumed to stay current without testing. Ask which system owns the ticket record and how the door tool identifies the same admission after a change.
Take an ordinary example. You export a list on Thursday, a buyer transfers a ticket on Friday and the new holder arrives on Saturday. The important question is which code the door recognizes and whether the original remains usable. A matching name alone won't settle that. Rehearse the provider's actual transfer or replacement process and inspect the corresponding door records.
Do the same with a late sale and a cancellation. Ask when updates become available, what happens when an update fails and who can see that the exchange needs attention. If staff must manually refresh a list, make the responsibility explicit. Don't assign them repeated imports when a supported connection already handles the changes correctly.
Compare the information transferred as well as the timing. Your check-in requirement may need a ticket identifier, performance and access type; it may not require the attendee's employer, marketing preferences or every answer from a registration form. Agree the necessary fields with the provider and keep the door team's access appropriate to its role.
Then test the return journey. Find an admission in the report and match it to its ticket record. Ask whether first admissions, repeat entries and manual changes can be distinguished. If the integration sends only one general attendance flag, decide whether that is enough for your reporting purpose before you sign. Fixing mismatched records after several entrances have operated is a poor way to discover what the connection omits.
Test reliability before comparing scanning speed
Reliability means the team receives a correct, understandable admission decision under the conditions you intend to operate. It includes more than whether the app launches. Start with a valid ticket, then test an already-used ticket, a ticket for another event, a cancelled ticket and any replacement or transfer process you plan to support.
Use designated test tickets and coordinate with the provider so you don't change a genuine buyer's admission status during a rehearsal. Record the expected outcome before each attempt. If an app displays a warning, ask a member of the door team to explain it without help from the salesperson. An ambiguous response can be an operational problem even when the underlying record is correct.
Ask what changes when connectivity disappears
Have the provider demonstrate the loss of connection after the event data has loaded, and separately before it has loaded. Then ask which actions still work. Scanning, manual search, new sales, ticket changes, badge printing and shared check-in status can have different requirements. A successful test of one doesn't prove the rest.
Record how staff recognize the current connection and synchronization state. They need to know whether they're seeing current ticket information or an older downloaded copy. Also confirm what action restores normal operation and who checks that queued records have actually been sent. Reconnecting a phone to Wi-Fi isn't enough evidence on its own.
A backup connection should be tested at the scanning position. A hotspot working in the production office tells you little about the entrance beside a concrete stairwell. Ask the venue's network contact which connection staff should use and what support is available during arrivals. Your plan should describe a failure you have rehearsed, rather than promise a connection that can never fail.
Demonstrate the same ticket at two disconnected entrances
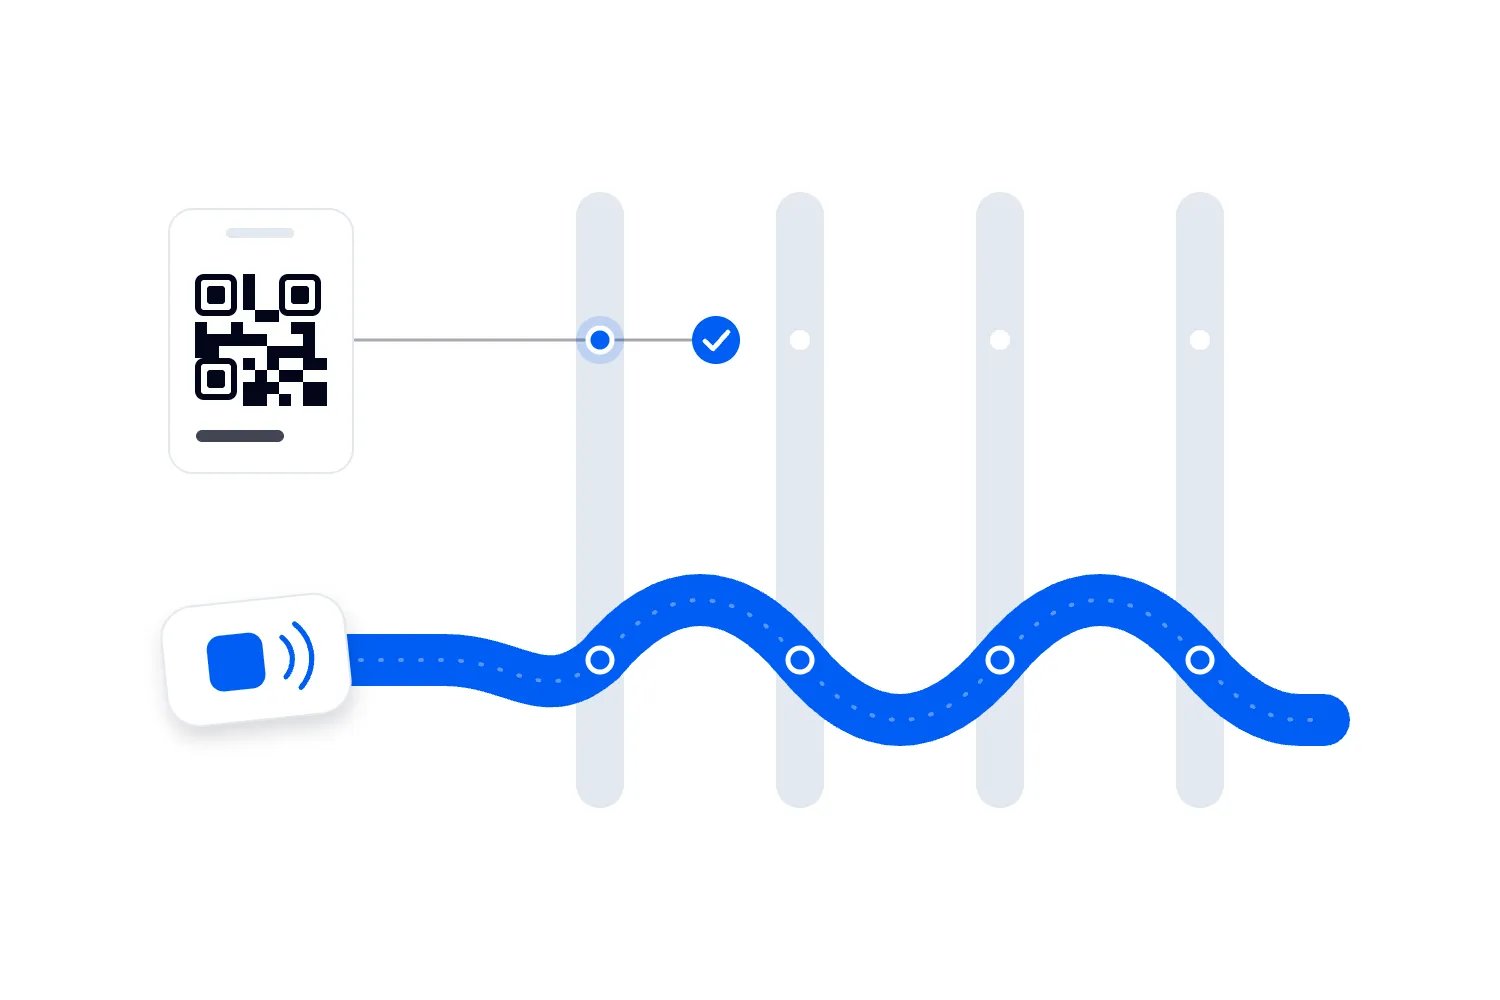
Suppose two devices download a list showing one ticket as unused. If the devices subsequently lose contact with the shared system, each may still hold that unused status. An offline implementation could accept the ticket at both doors. Finding the duplicate during later reconciliation cannot reverse an admission that already happened.
This is a failure scenario to investigate, not a claim that every product behaves that way. Ask the supplier to demonstrate its actual safeguards and limits. Test both devices losing connectivity, one losing connectivity and a connection returning during the check. Write down what each operator sees and what admission decision your team should make.
Agree a fallback with the provider and venue team. Depending on the system, it may use a tested alternative connection, a connected verification point or a more restricted admission process. Check that the route and staffing can accommodate the people affected. Sending the whole queue to a small help desk simply moves the problem.
Include ticket changes made shortly before arrival
A buyer might purchase on the way to the venue. Another person might arrive with a code that was replaced through an authorized transfer. Your check-in decision needs the relevant current record, so include these cases in the trial where the platform supports them.
Ask how a device receives a new sale, a cancellation and an updated entitlement. Check whether staff can distinguish a ticket that is invalid from information that has not reached their device. Those situations may require different responses. Avoid resolving either by accepting an order screenshot without verifying the underlying ticket.
Measure a whole admission, not a camera demonstration
The number that matters for queue planning is completed admissions over time under your actual entry process. Camera recognition is only part of that process. Staff may need to check the result, confirm a condition of entry, apply a wristband or direct the attendee to the correct room.
Start timing when the next attendee can approach the operator and finish when that position is ready for another person. Include normal ticket presentation and the required checks. Record complicated cases separately so you can decide whether a help desk should handle them, but don't remove every slow interaction and call the remainder a typical arrival.
Use the same devices, ticket mix and lighting when comparing options. A bright screen indoors is easier to demonstrate than a dim screen in sunlight. Include a printed ticket if you accept one, a damaged screen, a group that arrives together and someone who needs assistance. You want a useful operating estimate, not a supplier's best recorded scan.
Work through a multiple-entrance example
Here is an invented planning example. You expect 600 ticket holders in the busiest 30 minutes. Your arrival plan puts 420 at the north entrance and 180 at the south entrance. That is an average of 14 people per minute at north and 6 at south.
Suppose a rehearsal with your actual phones and entry checks shows one scanning lane completing 8 admissions per minute. Two north lanes provide a measured starting capacity of 16 per minute; one south lane provides 8. You need three scanning operators and three active devices for that layout. One scanner at each gate would leave north short of its expected average arrival rate while south had spare capacity.
Those averages don't guarantee a short queue. A train arrival or a coach unloading can deliver a burst that exceeds the average. Two north lanes leave little spare capacity in this example, so test a short surge and decide how the lead would respond. Include the effect of any ID check, bag search or wristband handoff in the overall arrival plan.
For this hypothetical layout, add a greeter at each entrance, a person at a shared ticket-help desk and a floor lead. That makes seven check-in staff, separate from the security, accessibility and crowd-management staffing required by the venue plan. Use your own measurements with our check-in staffing guide; don't copy seven people into a different event's budget.
Watch the queue as well as the recorded count
A rising check-in total can coexist with a growing queue if arrivals exceed processing. Give the floor lead a way to observe both. Use the app's relevant reports where available and direct staff updates where they aren't. Don't assume a generic dashboard includes per-gate arrival rates or queue alerts.
Agree the point at which the lead acts, the prepared response and who authorizes it. An additional device helps only when a trained person, an approved lane and the required connection are ready. Keep entrance changes within the venue's agreed operating plan and maintain clear emergency and accessible routes. Fast scanning doesn't replace crowd management.
Check ticket rules, group arrivals and repeat entry
Write the admission rules before asking a supplier to configure them. State which event, performance, ticket type and time window the entrance accepts. For a multi-day pass, explain whether the person checks in once or needs a recorded admission each day. For a separately booked workshop, distinguish admission to the event from permission to enter the session.
A device with a general event scanner may not perform all of those jobs. Ask the provider to demonstrate the required restriction with test records. A ticket showing the correct event name can still be wrong for a particular date or paid session. Our conference session scanning guide covers that separate requirement.
Treat a group order as the tickets it contains
An order confirmation and an individual ticket are different records. If someone buys several tickets, clarify how the app handles the whole group arriving together and group members arriving separately. Test how staff select the tickets actually used without marking an absent person's admission as complete.
Use a rehearsal order containing several tickets. Bring part of the group to one gate and the remaining people to another. Check what staff can identify, what the system records and whether a later arrival still has a valid admission. Ask how ticket transfers affect that process where transfers are supported. The answer should be clear enough to explain in the gate briefing.
Decide what repeat entry means at this event
An already-used warning is information to investigate. It doesn't establish whether the person is attempting to reuse someone else's ticket or returning under an allowed re-entry policy. Staff need the event's rule, an approved way to identify a permitted return and a person authorized to resolve uncertain cases.
If the app offers checkout or a separate validation mode, demonstrate the difference from recording a first admission. If your process uses a wristband or another physical identifier, explain how staff verify it and what happens when it's missing. Never assume that one software setting creates a complete re-entry policy.
Keep first admissions separate from repeated movements in the report. Otherwise, a person leaving and returning can distort the figure you later call attendance. The app's scanning options and your reporting definitions need to agree before doors open.
Give staff a clear result and somewhere to send problems
The best interface for your event is one the door team can interpret while helping the next person. Ask a new operator to complete a valid scan, recognize an already-used warning and find the approved response to a missing ticket. Watch what they do instead of relying on a claim that training takes only a few minutes.
Look for readable text, sufficiently distinct states and controls that work on the intended device. A success color alone isn't a complete instruction. The screen should make the relevant result understandable, and your briefing should explain the action. Check it in the lighting and noise where the team will work.
Separate quick admissions from investigations
A scanner can direct an uncertain case to a nearby help desk without deciding the person's entitlement in the middle of the main lane. The help desk then checks the record through the approved system, makes or obtains the authorized decision and records the outcome. Moving a person aside is not permission to admit them without verification.
Give the help desk the access it needs and keep the scanning role appropriately limited. One person resolving an order issue should not require every volunteer to have the organizer's full account. Make the escalation contact reachable throughout the arrival period, including breaks and shift changes.
Write a short handover note for each unresolved case so the attendee doesn't have to explain the whole problem to three people. Record only the information needed to resolve it. Don't announce someone's name, payment issue or accessibility request across a queue simply because staff are working under pressure.
Include people who cannot present a phone screen
A person may arrive with a flat battery, be unable to use a particular digital flow or need another way to communicate. Rehearse the supported lookup and assistance process with the people responsible for admission. Explain before the event how attendees can request help and where they should go on arrival.
The US Department of Justice's effective communication guidance explains the importance of appropriate communication support and staff training for covered organizations. Use it with the venue's accessibility arrangements, rather than treating a mobile app as the whole solution.
Test the approach from the attendee's position. Can they find the assistance point, communicate discreetly and follow the route into the event? Confirm that any equipment used by attendees can be reached and operated as intended. For US reserved-seating events, the DOJ's ticket sales guidance also addresses accessible seating and staff responsibilities. Confirm the requirements that apply to your operation.
Time badge production separately when your event needs it
For a paid conference, a successful scan may start another piece of work. Staff still have to confirm the displayed details, produce the right badge and hand it to the right person. Include that full sequence in the trial if a badge is required for admission. Otherwise, you're comparing the scanner while leaving the likely delay unmeasured.
Use the intended badge design and equipment. Test names that need more space, a corrected company name, a reprint and a depleted roll or stock supply. Ask what the team does while a printer is unavailable and how the replacement equipment is prepared. A vendor's sample badge on a different printer doesn't resolve those questions.
Decide where a reprint is authorized and how staff prevent an old and a replacement credential from causing confusion. Check what the printed code permits at the entrance and any session door. A badge can be a name label, a scannable credential or both, and staff need to know which role it performs at your event.
Only add self-service stations when the tested process warrants them. Include someone who can assist attendees, clear ownership of supplies and an approved alternative when equipment stops working. Our conference kiosk guide covers that decision in more detail.
Include permissions, device security and data handling
List who needs to scan, who needs to investigate tickets and who can change event settings. Use individual access where the platform supports it and test those accounts before the shift. Shared organizer credentials make it harder to withdraw one person's access and expose more of the event than a scanning operator needs.
For devices holding downloaded attendee information, ask what is stored locally, how it is protected and how long it remains available. The OWASP mobile security storage control explains why sensitive information needs protection wherever an app stores it. An offline guest list is still information your business needs to handle responsibly.
Agree a practical device handover. Identify the device, its operator, charging equipment and the person to contact if it's lost. Use the device's available security controls, keep software current and confirm how the provider handles account removal. Ask what happens to cached information when access is withdrawn; don't assume that revoking an account instantly removes every downloaded copy.
Train staff to use the authorized check-in function. The FTC's guidance on harmful QR-code links describes how codes can conceal deceptive destinations. A generic phone-camera scan that opens a page is not the same process as validating an admission in your event system. Staff shouldn't enter account credentials into an unexpected page presented by a stranger's code.
Keep public signage under the event team's control too. If a sign links to ticket retrieval or purchases, check its destination during setup and inspect it during the event. Give staff a known route to the genuine event page. People trying to recover a missing ticket shouldn't have to guess which code or search result is yours.
Compare the complete cost of running the door
An app described as free can still require a paid ticketing relationship, particular hardware or staff time. A more expensive system can be justified when it handles work you would otherwise need to provide separately. Ask for a written explanation of what's included for your event and what creates another charge.
Build the estimate from the setup you intend to operate. Include active and spare devices, stands, charging, connections, printer hire, badge stock and setup where relevant. Add training and support arrangements. If a separate system requires attendee imports and exception handling, include the time to test and maintain that exchange.
For example, suppose a hypothetical 12-event calendar adds $180 of device hire and $120 of extra setup labor per event for a separate door tool. That is $300 per event and $3,600 across the calendar before its software charge. Those are invented inputs to show the calculation, not supplier prices. Replace them with actual quotes and your staffing costs.
Compare the extra cost with the specific work the alternative would remove or improve. Faster badge production may justify equipment at a conference where every delegate needs a printed credential. The same equipment adds little to a show where staff only need to validate tickets. Avoid treating an uncertain promise of shorter queues as money already saved.
Check support separately from the software subscription. Ask which channel is available during your event, who can use it, what information they need and what response is promised. A general customer-service inbox is a different arrangement from event-day operational support. Record an escalation route your floor lead can actually use.
Run a trial that can change your purchase decision
A useful trial has a written event scenario, representative devices and a record of what passed or needs work. Invite the door lead and someone who will prepare the attendance report. They will notice different problems, and both need to understand the result before you rely on it.
Prepare a small set of recognizable test cases
Create designated records that represent the admissions you intend to sell and the problems you need to handle. Include a valid individual ticket, a group order, an already-used ticket, a wrong event or performance and an authorized ticket change. Add cancelled tickets and session restrictions where those apply. State what staff should see in each case.
Use the same case list for each shortlisted app. Don't let one supplier demonstrate only its easiest scan while another handles every exception. If a function is unsupported, record that plainly and decide whether it is essential, can be handled through an acceptable process or rules the option out.
Rehearse with the actual team and equipment
Let operators sign in through their own assigned access. Check event selection, camera permissions, scanning, lookup and escalation. Confirm that a replacement phone can be prepared through the documented process. Include a handover between staff, because a shift change can expose a setup assumption that the first operator never noticed.
Run the planned busy period with the checks your event requires. Record completed admissions, unresolved cases and the queue at useful intervals. The purpose is to discover where people wait and why. A fast result isn't useful if an operator has skipped a required entitlement check or marked an entire group as present.
Test failure and recovery deliberately
Disconnect test devices using an agreed rehearsal procedure, follow the provider's fallback and restore the connection. Check the records afterward. The test is incomplete until you know which admissions were recorded, which changes were delayed and which cases still need investigation. Repeat with another device taking over if that is part of the plan.
Don't manufacture an unsafe crowd or interrupt a live event to make the trial feel realistic. Use controlled conditions and designated records. Where a full-scale load test matters, ask the provider what evidence it can supply and what testing is permitted. Treat marketing claims and reference-event results as context, not proof of your own setup.
Agree acceptance criteria before the final demonstration
Write down the conditions you need to meet. For the multiple-entrance example, they might include handling the planned arrival load, showing understandable duplicate warnings, documenting the tested offline limitations and producing a report the door lead can reconcile. Set your thresholds from the event's needs and rehearsal evidence, not a universal scans-per-minute promise.
Classify unresolved findings by the consequence for this event. An unfamiliar label may need a briefing change. A failure to receive late ticket sales may need a connection or configuration change. A system that cannot enforce a required paid-session restriction may be unsuitable. Assign an owner and retest anything that affects the admission decision.
Keep a short decision record you can reuse
Before purchasing, save the event scenario, trial date, software version, device models and the configuration tested. Name the people who reviewed it and record the remaining conditions. That makes the decision useful when a colleague sets up the next performance or when a supplier proposes changing the equipment.
For each important case, record the test action, expected result, observed result, required response and owner. A note saying "offline passed" is too broad to reuse. A note saying "downloaded tickets remained searchable, new sales were unavailable until reconnection, door lead to use the tested backup" explains what the team can actually rely on. Use the behavior your own trial established.
Keep commercial promises with that record. If a feature or support arrangement determines your choice, get it confirmed for the plan and event you're buying. A demonstration can show that something works in one setup without establishing that your contract includes it. Recheck the affected cases when you change venue, ticket rules or hardware rather than assuming one successful trial covers every later event.
Prepare the event-day handover and the attendance report
Before the shift, give the team one current brief with the selected event, accepted tickets, entrance allocations, assistance point, re-entry rules and escalation contact. Confirm device readiness and the tested connection. Show staff the actual warning screens and responses instead of expecting them to remember a long feature demonstration.
Tell attendees where to enter, how to retrieve their ticket and what other checks apply. Keep those instructions consistent with the ticketing system and the venue plan. A reminder asking everyone to open a QR ticket won't help if the next sentence sends them to a badge desk that isn't part of your event.
During arrivals, let the lead compare the queue with completed admissions and unresolved cases. Investigate a widening gap while the relevant staff are still there. If a connection or gate changes, record when it happened and which devices were affected. That context helps explain the report later without asking everyone to reconstruct the shift from memory.
Afterward, distinguish tickets sold, valid ticket entitlements, first admissions and any repeat-entry records. Keep supported manual admissions and unresolved discrepancies visible. Our attendance reconciliation guide walks through that work. A check-in count is useful evidence about admissions, but it doesn't automatically tell you how many people remain inside at a particular moment.
Choose the app after you've seen how it performs through this whole process. If your existing ticketing tool handles the required cases clearly, start there. If a separate registration system solves a demonstrated badge or session problem, include the connection, equipment and support in the decision. Finish with a tested setup and a team that knows what to do when a ticket doesn't produce the expected result.
Explore Loopyah ticketing and check-in
Author: By the Loopyah Content Team
The Loopyah Content Team shares expert insights, practical guides, and industry updates to help event organizers create unforgettable experiences and stay ahead in the event planning world.