· 27 min read
How to run a paid screen-printing workshop

You can fill a room with people who want to print a tote bag and still finish the day with a queue, wet fabric and a pile of work nobody has been paid to complete. The printing itself may be the part everyone came for, but preparing screens, supervising turns and finishing the fabric are part of what you're selling too.
For a first paid screen-printing workshop, I'd offer one tested project, include compatible materials and limit places to the number you can teach through the whole process. Decide how the printed item becomes ready to use before you advertise it. If that requires work after the class, include the labour and collection arrangements in your price and description.
That doesn't mean the lesson has to be dull. Watching an image appear through a screen is a satisfying thing to learn. Your job is to let each beginner understand and practise it, without selling a custom clothing service that the timetable can't support.
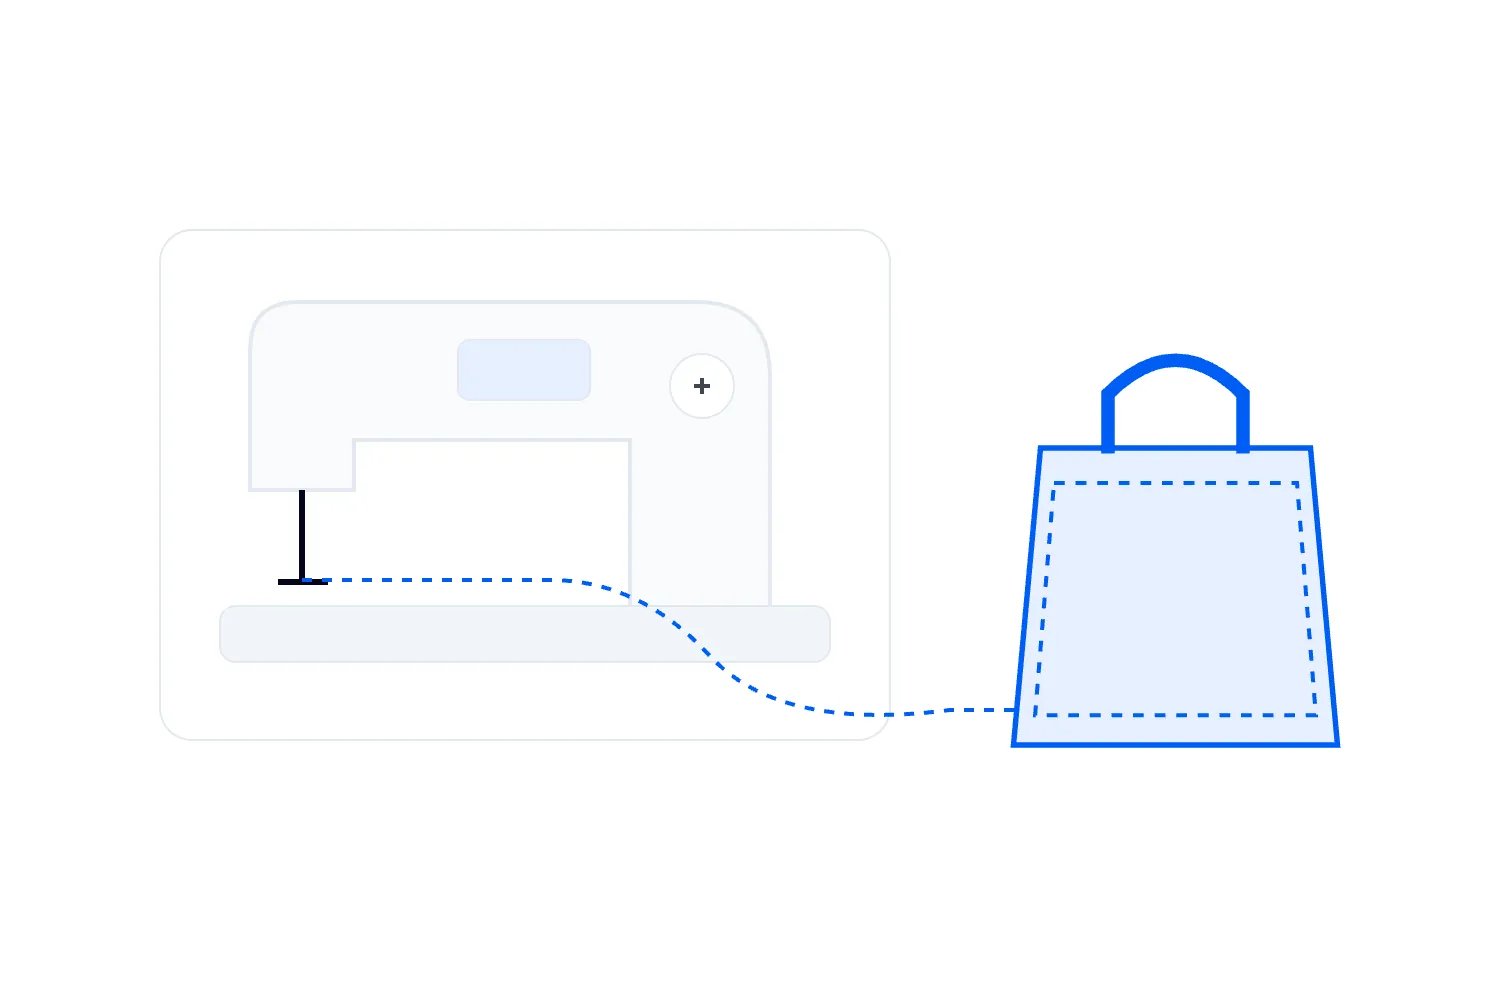
We'll work through a fictional adult beginner class with twelve paid places. It runs on Saturday from 10:00 to 13:30. Participants use prepared screens to make two practice prints on fabric scraps and one single-colour print on an included cotton tote. The organiser keeps the totes for drying, heat setting to fix the ink to the fabric, and checks, then offers collection on Tuesday from 17:00 to 19:00. There is no same-day finished-bag promise.
All quantities, timings and dollar amounts in this example are planning assumptions, not industry benchmarks or supplier quotes. The wider guide to organising a paid workshop covers launching a class. Here, we'll concentrate on the screen-printing decisions that change capacity, cost and the buyer's experience.
Decide whether you're teaching printing or making screens
Screen printing pushes ink through the open parts of a mesh screen onto the material underneath. A stencil blocks the areas that shouldn't print. Preparing that stencil can be a lesson of its own, and you need to decide whether it's included before you choose the workshop length.
Our beginner class uses three screens prepared in advance with the same original house design. Everyone learns to position the material, handle the squeegee, which is the blade used to push the ink, make a practice print and improve the next attempt. They can choose an approved placement on their tote. They aren't creating a screen from their own artwork or printing a different image on every bag.
That's a narrower offer than designing a T-shirt from scratch. Say so. A beginner may reasonably assume that a screen-printing workshop includes making the image unless your description explains otherwise. Showing the finished design before purchase lets them judge whether they actually want this version of the class.
You could instead teach cut-paper stencils or include a longer screen-preparation process. Ask the tutor to demonstrate the complete method with the equipment and materials you'll use. Count design approval, preparation, drying or exposure where required, printing, cleaning and the work needed afterwards. The interesting question is how much meaningful practice remains for each participant.
Don't put an advanced process into the description because it sounds more valuable. If you demonstrate screen preparation but attendees don't do it themselves, describe it as a demonstration. If they only print from a prepared design, that can still be a worthwhile introductory class. The value comes from instruction they can follow and use again.
A useful test is to ask the tutor what a participant should be able to explain at the end. In our example, they should understand why the material needs support, how to make a controlled print and what changed between their first and second attempt. They should also know why printing the tote hasn't finished the fabric treatment.
Write those outcomes into the teaching agreement. They help you judge whether a change preserves what people bought. Swapping individual printing turns for watching the tutor make everyone's bags would change the lesson substantially, even if each buyer still receives a tote.
Choose the fabric and ink together
A bag that looks suitable in a supplier photograph may behave differently once you print, dry and finish it. Start with a specific blank, meaning the unprinted item, and a specific ink. Ask the tutor to test that exact combination before ordering the class quantity.
Our example uses one model of natural-coloured, one hundred percent cotton tote and one ink colour. It avoids a size-selection exercise and keeps the working surface consistent. The tutor approves the print area, preparation and finishing method. Fabric scraps for practice use the same selected fabric type, with the actual combination tested in rehearsal.
This is why I wouldn't open the first date to any garment someone brings from home. You could receive coated fabric, a bulky seam, an unsuitable blend or an irreplaceable jacket. Then the tutor has to assess something you haven't rehearsed while everyone else waits. An included, tested blank gives you a more predictable class.
The finish matters as much as the colour. Speedball's current FLEX fabric ink instructions say projects should dry overnight before heat setting. They also give different heat-setting instructions for different fabrics. That is product-specific guidance, not a drying rule for every screen-printing ink. Follow the current instructions for the actual product and equipment you choose.
For this worked example, that overnight instruction is the reason the organiser retains the totes. We aren't trying to fit the drying period into a three-and-a-half-hour class. Participants learn the sequence during the session, and trained staff complete the agreed finishing afterwards.
Keep the product label and safety information with the teaching plan. If a supplier substitutes another ink or blank, the tutor needs to approve and retest it. Similar packaging or the same colour name doesn't establish that the materials need the same handling.
Run a finished sample through the intended care routine before launch. Record the blank, ink, application and finishing method so you can repeat what worked. Use a sample you made for testing rather than experimenting on a paying participant's only bag. A good-looking fresh print alone doesn't show what will happen after washing.
Keep personalisation within the lesson you can support
Personalisation sounds like an easy way to make the offer more appealing. In practice, every extra design, ink or garment choice can create preparation and changeover work. Work through that before describing the class as fully customisable.
Three identical prepared screens make our example easier to run. Any participant can use any available station. If you offer three different designs and most people choose one, two stations might stand idle while a queue forms at the popular image. The total number of screens hasn't changed, but access to the design people bought has.
You can manage a choice by collecting it before the event and preparing the right equipment. You can also publish separate dates for different designs. What you shouldn't do is sell unrestricted choice and discover the demand split at the table. Screen preparation takes time whether you charge for it explicitly or absorb it.
The same applies to colour. In our class, everyone uses the same single ink colour. People can discuss how other colours might work, but the ticket doesn't include mixing a private palette or changing the screen between every buyer. If colour mixing is the lesson, plan equipment and teaching around that instead.
A second printed colour adds an alignment problem as well as another ink. The layers must land where intended. A beginner needs time to understand and practise that. Don't assume a two-colour workshop is the existing session with a second jar on the table.
If you accept personal artwork for a future format, set a usable brief. Explain the supported image size, file or paper requirements, approval deadline, permitted detail and what happens when a design isn't ready. Put tutor review and screen preparation in the price. A message saying "send anything you like" is an open-ended service commitment.
For the first date, I'd keep the shared design and make the teaching good. You can learn whether buyers want a custom-artwork class afterwards. Expanding the promise before you know your actual preparation time makes it harder to see which part of the business works.
Test the room as a working print space
The room needs to support clean materials, active printing, wet work and staff movement. A photograph of empty tables won't answer that. Visit with the tutor and set out enough real equipment to check how people will use it.
In our example, three printing stations sit away from a clean preparation area. Each station has its tested screen support, squeegee and material setup. There is labelled drying space for the totes, a separate place for practice scraps and a route that doesn't make people carry wet work over someone else's bag.
Have the tutor show how the tote is supported during printing and where its handles and seams go. Check the method for protecting the other side of the bag and removing the printed piece without smudging it. Put any inserts, supports and spare materials on the packing list. A flat practice scrap won't reveal every handling problem that comes with the finished bag.
Check water access and the permitted cleaning process with the venue. Agree which sink can be used, how ink and cleaning waste are handled, and who cleans the room and equipment. Water-based ink isn't permission to pour every leftover product down a convenient drain. Use the product information and the venue's approved arrangements.
Test the working height and reach. The US Occupational Safety and Health Administration's screen-printing guidance identifies awkward bending, reaching and hand force in manual printing, and discusses workstation adjustments. Use those prompts to examine your actual setup. A shared table that works for the tutor may need a different arrangement for another person.
Keep exits, access routes and personal belongings clear of printing activity. Confirm the complete layout with the venue, including the tutor, assistant and any support people. Twelve paid places in this example is an operating choice, not a statement that any room or staffing arrangement can safely accommodate twelve learners.
Our public session ends at 13:30, but Saturday room access runs from 08:30 to 15:00. That allows setup, checks, cleaning and moving labelled work to the agreed storage area. The venue also authorises secure drying and the later finishing and collection visits. Those permissions are part of the hire arrangement.
If the venue needs the room clear on Saturday, solve the storage problem before selling. You might need another approved space and a tested way to move the fresh prints there. You cannot promise overnight storage simply because the building stays open. Find out who has access and what happens to your work between bookings.
Agree who supervises printing and who finishes the bags
For our fictional class, a tutor leads the teaching and a trained assistant manages the agreed station tasks, supplies and arrivals. Both understand the printing method and when an activity needs to pause. This arrangement has to work in rehearsal with the actual group and room; it isn't a universal staffing ratio.
Ask the tutor to show how they introduce the screen and squeegee, watch a beginner attempt the movement and correct a poor result. Technical skill matters, but so does explaining what happened without taking the work away from the person who paid to learn.
Decide how a late arrival catches up before handling ink or equipment. The assistant can welcome them, but the essential instruction still has to happen with the right support. If catching them up interrupts supervision elsewhere, pause the relevant activity and use the response you've planned. Asking someone to copy their neighbour isn't the same lesson.
The assistant's job needs more detail than "help on the day". Agree which equipment they can adjust, how they direct turns, what they do when a screen stops printing properly and when they call the tutor. They shouldn't invent a different chemical or cleaning method to keep the queue moving.
Put preparation and finishing into the agreement too. Who prepares the screens and sample? Who orders and prepares the blanks? Who labels the bags, completes heat setting, checks the results and hosts collection? Our budget includes pay for those jobs. Confirm who does each one and when they can use the equipment.
Keep heat-setting equipment under the control of trained staff with an assessed working method. Our example doesn't have participants operate it during the public class. If your format does, you need to account for instruction, burns and pinch hazards, supervision, electrical arrangements and cooling. Adding a hot machine creates another activity to manage.
Agree what happens if someone is absent. A replacement tutor must be able to teach the advertised method, and a missing assistant may change how many stations can operate. Don't keep the same ticket limit by asking the tutor to cover every role at once.
Also define a reasonable follow-up service. Our example includes the care sheet and questions about the supplied tote and class method for the following week. It doesn't include designing participants' future clothing ranges. Explain that scope while still responding properly to any problem with the product or service you've supplied.
Assess the actual products and tasks
A short beginner class still needs a competent assessment of what people will handle and what can go wrong. Start with the chosen inks, cleaners, tools and equipment. Include preparation and cleanup, which can involve different products from the printing itself.
The Health and Safety Executive's guidance on printing substances, for Great Britain, explains that controls depend on the process, products and tasks. It identifies skin contact and inhalation among the concerns and discusses measures such as ventilation and preventing contact. Use the requirements and competent advice relevant to your own location rather than treating a general label as the whole assessment.
Make the resulting instructions usable in the room. Staff should know where the product information is, how to deal with a spill and who can decide whether activity resumes. Keep food and drink away from the printing and product-handling areas under your agreed procedure. Provide the required washing facilities and protective measures.
Ask about participation requirements before the day. W3C's accessible events checklist recommends accessible facilities and materials and asking people about their requirements. Here, that conversation should cover seeing the demonstration, reaching the station, handling the tools and taking a break. Discuss practical adaptations with the participant and tutor privately.
Offer clear written steps people can refer to during practice. Explain unfamiliar words as you use them. Someone who hasn't heard of a squeegee shouldn't have to guess which tool to pick up while the tutor starts the next demonstration.
For this example, the class is for adults aged eighteen and over. That is a choice for this offer. A family session would need a separate plan for age suitability, supervision and safeguarding. You can't establish that plan simply by printing smaller bags.
Check emergency and first-aid arrangements with the venue and brief both staff. If one person must leave a station to respond to an incident, the other needs to know which activity pauses. A busy timetable is never a reason to continue without the supervision or controls the plan requires.
Count printing turns before you count tickets
Here's where the attractive room capacity can lead you astray. Twelve people need twelve chances to learn, practise and print their included item. They don't receive that just because you've found twelve chairs.
Our plan gives each participant two practice prints on fabric scraps and one tote print. That's thirty-six planned printing turns. For the fictional rehearsal, allow six minutes per turn, including positioning, guided printing, lifting, moving the work and resetting. That makes 216 minutes of occupied station time across the class.
The running order offers three interchangeable stations for ninety minutes. Together, that's 270 station-minutes, meaning the sum of time available across all three. It leaves fifty-four minutes across the stations for ordinary delays and corrections. Those minutes aren't necessarily available at the exact moment a particular participant needs help.
Now change the rehearsal result. If each turn needs eight minutes, thirty-six turns need 288 station-minutes. The same ninety-minute window doesn't fit. If only two stations can operate, they provide 180 station-minutes, which doesn't fit even the six-minute assumption. Selling the same twelve places in either situation needs a revised plan.
This is a planning calculation, not evidence that six minutes is achievable for your class. Test it with beginners, including movement and questions. A tutor making a quick print on familiar equipment isn't a useful stand-in for someone learning the method.
The two practice prints happen before each person's tote print. The assistant directs turns so people receive feedback and try the correction while there is still time. We aren't promising unlimited attempts or a production run of bags. Extra work is only possible when the included turns, supervision and supplies allow it.
Rehearse the teaching as well as the equipment. Three open stations don't create three available tutors. If beginners need more simultaneous help than the two staff can provide, reduce the activity, increase appropriately trained support or lower the ticket limit. The arithmetic tells you where to ask questions; it doesn't approve the session.
Give waiting time a useful purpose
Nobody buys a practical workshop to stand behind the person with the ink. Shared stations can work well, but people need to know when their turn comes and what they can do while waiting.
Before printing opens, each participant checks their approved placement on an unprinted layout sheet. The tutor demonstrates the movement and shows what to look for in the practice print. Participants can then use their first result to discuss a correction, prepare their next piece or review the illustrated steps away from the station.
Avoid giving waiting participants unplanned tasks that need the same supervision you're already using. If they're cutting new stencils or mixing unfamiliar products in another corner, you've created another class inside the printing period. Keep the waiting activities within what staff can oversee.
Our worked running order is deliberately modest:
From 10:00 to 10:20, welcome the group, explain the method and demonstrate the agreed working routine.
From 10:20 to 11:00, inspect the prepared design, plan placement, rehearse handling without ink and brief the printing order.
From 11:00 to 12:30, run the practice and tote-printing turns, with short individual breaks arranged around turns.
From 12:30 to 12:50, compare results and ask participants to explain a change they made.
From 12:50 to 13:15, confirm labels, explain finishing and collection, and work through care and method questions.
From 13:15 to 13:30, complete the final check and close the class.
Staff breaks and coverage need their own arrangement during the day. Individual participant breaks don't automatically provide a break for the tutor. If the rehearsal shows that a continuous printing period is unsuitable, alter the running order and recalculate the actual station time.
Keep the final hour for reviewing the prints, checking labels, explaining care and closing the class. If the last person only reaches their tote at the advertised finish, you haven't shown that the schedule works. Change the session before selling it again.
Price the work that continues after Saturday
Your costs include what happens before the first print and after everyone leaves. Screen preparation, blank testing, retained work and collection are part of this offer. Leaving them unpaid makes the ticket price look better than the business really is.
Here's a fictional budget in USD, assuming no sales tax applies. All figures are invented to illustrate the calculation, including the transaction allowance. They aren't market rates or Loopyah pricing. Replace them with your actual costs and applicable taxes.
The costs that don't change with each booking total $1,300:
Saturday venue access costs $240.
Tutor preparation, rehearsal and class delivery cost $340.
Assistant preparation, class support and cleanup cost $180.
Organiser administration costs $100.
Screen preparation and reusable equipment allowance cost $100.
Promotion costs $60.
Demonstration materials and cleaning supplies cost $80.
Agreed storage, staff finishing and the collection visit cost $120.
Contingency is $80, treated as spent in this example.
Each paid place adds $32. That includes $8 for the tote, $3 for practice fabric, $4 for ink and consumables, $3 for final packaging, $4 towards a replacement-material reserve and $10 for assumed ticketing and payment costs. The demonstration and cleaning line is separate from these participant supplies.
At a $155 ticket price, each sale leaves $123 towards the fixed total. Ten sales produce $1,230 after the per-person costs, leaving a $70 loss. Eleven leave a $53 surplus. Twelve leave $176. Those results already pay the stated tutor, assistant, organiser and finishing allowances.
Our workshop pricing guide explains the broader pricing decision. For this session, pay attention to how little remains if another service is added. If the actual finishing and collection bill is $150 above the allowance, the full-price sellout surplus falls to $26. The class has sold every place, but the extra work has used most of the remaining money.
You need to find that out before launch. A local buyer may not pay the price your supported class needs. You can seek a different venue arrangement, simplify a real part of the offer, find committed additional income or reconsider the format. Increasing the ticket limit without supporting the extra learning and equipment time doesn't resolve the problem.
Check discounts and upfront cash separately
Suppose four places sell for $135 and eight sell for $155. Each discounted booking leaves $103 after the same $32 variable cost. Together, the twelve places leave $96 after the $1,300 fixed total. That's $80 less than the full-price sellout.
If the additional $150 finishing bill occurs as well, this discounted sellout loses $54. Neither the discount nor the finishing change is enormous on its own. Together, they change whether the event pays for what you've agreed to deliver.
Before announcing an early price, work out how many discounted places the budget supports. Decide why the reduction is useful. An intentional launch offer can make sense, but you still need to cover the money it gives away. Don't offer it simply because the ticket page has space for another option.
You also need to distinguish equipment wear from the cash needed to buy it. You may have to buy screens, supports and tools before the first date. The $100 allowance in this event budget isn't the amount you can expect to spend on your first set of equipment. List that purchase separately and decide how the business funds it.
Put payment dates beside the venue, tutor, materials and equipment commitments. Compare them with when your ticket money is actually available. Keep possible refunds and the cost of cancellation visible. Forecast profit at eleven bookings doesn't establish that you can pay a deposit today.
Set a booking review before the next commitment you can't afford to lose. If only ten places have sold, the example forecasts a $70 loss before any new problem. You might deliberately accept it as an affordable first-date investment. Or you might change or cancel the date under the terms and obligations that apply. Make that choice with the costs in front of you.
Tell buyers exactly what the ticket includes
For a beginner session like this, I'd include the required materials. Asking buyers to source a compatible bag and ink creates another opportunity for the combination to change. Our guide to including workshop materials covers when separate supplies or optional upgrades make sense.
Our standard place includes the teaching, two practice fabric scraps, one selected tote, shared printing equipment and the stated finishing and collection service. The screens and tools remain with the organiser. The practice scraps are teaching consumables retained by staff, not additional finished products promised for collection.
Make the limitations just as clear. Participants print the supplied house design in one colour. They aren't bringing personal garments, creating a custom screen or receiving a take-home printing kit. The tutor can explain how those activities differ without suggesting they are part of this ticket.
A short description could read:
"Learn to screen-print a single-colour design in this adult beginner workshop. You'll practise on fabric scraps, then print our prepared design onto an included cotton tote using shared equipment. Your tote stays with us for drying, heat setting and checks, with collection on Tuesday from 17:00 to 19:00. No previous printing experience is needed. This session uses prepared screens and doesn't include making a screen from your own artwork."
Add the actual dates, venue, arrival details, access information, age requirement, total price and cancellation arrangements. Explain how to contact you about participation or collection before buying. Someone who is visiting for the weekend needs to know that Tuesday collection is part of the offer.
Loopyah's ticket-selling tools let you set ticket types, prices and quantities, take payment and send confirmation emails linking to QR tickets. One standard type with twelve available places fits our example. You still set the teaching limit and supply the accurate class description and collection details.
Show a sample made with the advertised blank, design and method. Label it as the tutor's example unless it actually came from a participant and you have permission to use it. A detailed multicolour garment from an advanced portfolio advertises a different result.
Ask someone unfamiliar with the class to read the page. Can they tell you what they'll do themselves, what they keep and when they receive it? If they expect a ready-to-use tote on Saturday, revise the description before opening sales.
Use artwork you have permission to teach and print
The house design is an asset you'll use in several ways. It appears on the screens, on participants' bags and in promotion. Agree those uses with the person who owns it, including whether you can repeat the workshop and what participants may do with their finished items.
UK government copyright guidance explains that using protected work requires permission, ownership or an applicable exception. It also describes licences with limits on purposes and duration. Check the rules for your location and the actual intended use. A design being available online doesn't establish permission for your commercial class.
For our example, the organiser has cleared the original house design for the teaching, included bags and agreed promotional use. Keep that agreement with the class records. If you commission a new image, resolve the rights while agreeing the fee rather than after printing the promotional sample.
Don't promise participants unrestricted commercial rights unless you have them to grant. A buyer may be happy to carry the tote but later ask whether they can print the design for their shop. Answer from the actual permission, and distinguish learning the technique from permission to reproduce someone else's image.
Promotion should show the teaching and the real result. A short view of the practice print, a correction and the tote gives a potential buyer a better understanding than a stack of unrelated finished clothing. Explain why support is useful and make the collection arrangement visible near the booking information.
Test interest in the actual offer and price. A popular process video can attract people who enjoy watching printing without wanting a place in your class. Review paid bookings and buyer questions before spending beyond the promotion allowance.
Prepare messages for the whole service
Before the workshop, send the confirmed times, route, access information, clothing advice and reminder that the required materials are supplied. Repeat that totes stay for finishing and give the collection date and contact. Buyers shouldn't have to remember that detail from a page they read weeks ago.
Loopyah's attendee email tools let you send event updates to ticket holders. Use the relevant workshop audience for preparation and collection information, and check the message before sending. A later promotional offer needs to be handled as promotion, rather than slipped into essential care instructions.
Check group bookings. The purchaser may be attending with friends who haven't seen the details. Ask them to pass the preparation information on and provide a contact route each participant can use privately. The organiser still needs to make practical arrangements for people who require them.
Prepare a staff list that matches people to the correct tote labels without displaying personal contact details around the room. Labels need to survive the planned drying and finishing process. Confirm the identity of the work before it moves into storage, and keep a record of its status afterwards.
If someone asks about postage, assess it before agreeing. Packaging, addressing, staff handling and delivery charges are additional work. Our example includes collection only. You could offer a separately priced delivery option if you can actually fulfil it, but don't improvise a free postal service when a buyer discovers they can't return.
Give collection a named host and an agreed location. Explain how an attendee can authorise another person to collect, and what happens if the window doesn't work for them. Set a reasonable, clearly communicated arrangement for uncollected work that fits your obligations and venue agreement.
Finish, check and hand over the work
At the end of class, check that each participant's tote is identified and stored in the agreed position. The tutor records any issue that needs attention. People should leave knowing when they'll hear from you and how to ask a question.
Staff complete the selected product's drying and finishing sequence using the approved method. Our example schedules finishing for Monday, with time for checks before Tuesday collection. Those dates are service commitments chosen for this workshop, not evidence of a universal production time.
Keep enough drying space and secure storage for all twelve totes. Practice scraps are handled separately under the agreed waste procedure. If a damaged bag needs replacing, use the material reserve and record the extra work. The reserve doesn't excuse a repeated failure in the printing or finishing method.
Check the completed item before packaging it. If you find a problem, tell the participant what happened and offer an appropriate remedy. Reprinting a bag entirely yourself may provide a usable item, but it doesn't undo a shortfall in the hands-on lesson. Consider both parts of what the buyer purchased.
A delay requires communication before collection. Don't let someone travel to the venue to discover their work isn't ready. Give a realistic revised arrangement and address any resulting problem under the terms and obligations that apply. A hidden drying delay becomes the attendee's lost trip if you leave the message too late.
Supply care instructions for the actual materials and finishing used. Don't copy a washing temperature or waiting period from an unrelated ink tutorial. Keep the product details available so the tutor can answer a later question accurately.
Review the result before you sell the next date
Wait until the finishing and collection work is complete before calculating the final event result. Include actual preparation time, materials consumed, replacement work, extra storage and any refunds. Saturday's ticket total won't reveal those costs by itself.
Compare the first and last printing turns with the running order. Record whether people received both practice attempts and feedback, and where staff had to intervene. A queue caused by help requests needs a different response from a queue caused by a blocked screen.
Ask participants whether the description matched the experience and whether the finishing arrangement was clear before booking. Check what they can explain about the method. Someone understanding why their second print improved is useful evidence of learning; a room full of completed bags doesn't establish that on its own.
Then change the part that caused the problem. You might reduce places, prepare an additional supported station, simplify the project or charge properly for the finishing service. If buyers consistently want their own artwork, test a separate offer with a longer preparation lead time and an honest price.
Before reopening sales, update the sample, description, staff agreement and budget together. The next ticket should promise a class you can teach and a finished item you can deliver, including the work that happens after the participant goes home.

Author: By the Loopyah Content Team
The Loopyah Content Team shares expert insights, practical guides, and industry updates to help event organizers create unforgettable experiences and stay ahead in the event planning world.