· 21 min read
How to run a paid photography workshop or photo walk
You know the locations, you can take the photographs, and people keep asking how you do it. Turning that into a paid photography workshop sounds fairly straightforward. Pick a date, sell some places, and take everyone out with their cameras.
Then someone arrives with a phone, someone else has never changed a camera setting, and your favourite shooting spot is packed. You're trying to explain exposure while half the group waits for the others to catch up. The photography was the part you understood. Teaching it to paying customers needs its own plan.
To run a photography workshop, choose a specific skill and starting ability, then build a session where everyone gets to practise and receive useful feedback. Set capacity around the help you can actually provide. Before selling, check your locations, commercial permissions, equipment requirements and weather arrangements, and price the whole job, including preparation and follow-up.
We'll work through an illustrative beginner city photo walk with eight paying participants, one instructor and one event host. The session lasts three hours and teaches people to make deliberate choices about composition and exposure using their own cameras. These are planning assumptions for our example, not recommended industry ratios or market prices. You can adapt the decisions to a studio class, smartphone workshop or specialist outdoor session.
Decide what people are paying to learn
A photo walk can mean very different things. Some people want a relaxed social outing with interesting locations. Others expect personal instruction and a serious improvement in their photographs. Both can be paid experiences, but the ticket page needs to make the difference clear.
For our beginner walk, the promise is that participants will practise choosing a composition, adjusting exposure and reviewing the result before trying again. The instructor will help each person with their own photographs. We aren't promising professional results, a portfolio or mastery of every camera control in an afternoon.
That gives you a much better basis for planning than "photography for all levels". A beginner trying to find exposure compensation and an experienced photographer working on advanced lighting need different teaching. Accepting both without changing the session can leave each feeling they've paid for someone else's class.
Choose the starting ability in practical terms. Our participants can turn on their cameras, take a photograph and review it on the screen. They don't need to understand manual exposure. They do need a camera with accessible exposure controls, and they need to bring its manual or know where to find it online.
Nikon's explanation of exposure fundamentals connects aperture, shutter speed and ISO to control over a photograph. It's useful preparation for an instructor deciding what to cover. It doesn't mean a beginner session needs to explain every combination before anyone starts shooting. Choose the controls that support today's exercise and let people use them.
A smartphone session could work well too. Plan it around the devices people will actually bring, including differences in camera apps and available controls. If you welcome phones and interchangeable lens cameras together, rehearse both versions of every exercise. Otherwise, create separate sessions and describe them honestly.
Choose the format that makes teaching possible
A studio workshop gives you more control over light, sound and the working area. You can repeat a demonstration without waiting for a cloud to move or a delivery vehicle to leave. That can make it a better choice for lighting, portraits or tabletop photography.
A photo walk lets participants practise with changing light and real surroundings. It also adds movement, public space, weather and interruptions. You're selling instruction while managing a group that cannot stay in one place for the whole session. That extra work belongs in the plan and the budget.
For a first walk, I'd choose a compact route with useful teaching locations close together. You don't need to show people every photogenic corner of the city. You need places where a group can stop safely, hear the instructor and try an exercise without blocking other people.
Our example uses a small meeting venue for arrival and the final review, with a short walking loop between them. That costs more than meeting on a pavement, but it gives the organiser a reliable place to welcome participants and discuss photographs. Whether that expense makes sense depends on the price buyers will pay and what the venue actually provides.
Check the time of day as carefully as the address. A quiet square on a weekday scouting visit may be full of shoppers during your Saturday session. Light will change too. Walk the proposed route at the intended teaching time and check whether each stop still supports the exercise.
Our broader guide to organising a paid workshop explains the full preparation process. For photography, the additional question is whether the instructor can teach this subject, with this equipment, in these exact conditions. A beautiful location alone won't answer that.
Test the instructor's teaching, not only their portfolio
Strong photographs show that someone can make strong photographs. They don't show whether that person can explain a decision to a beginner, notice confusion or help without taking over the camera. Ask to see the teaching as well as the work.
Run a short practice session with someone who resembles your intended customer. Ask the instructor to demonstrate the first exercise, let the learner attempt it and respond to what happens. Watch whether the explanation leads to an action the learner can repeat. An impressive technical monologue can hide the fact that nobody knows what to do next.
Agree how the instructor will work across camera brands. They don't need every menu memorised, but they need a sensible response when a control isn't where they expect. Collecting camera models before the session helps them prepare. Promising unrestricted technical support for unfamiliar equipment is a different service.
Put the teaching arrangement in writing. Cover preparation, route scouting, arrival time, session length, equipment, follow-up and what happens if the instructor becomes unavailable. Agree who supplies example photographs and teaching materials, and what permission you have to use those materials when promoting another date.
The event host has a separate job. In our example, they handle arrival, the attendee list, the agreed route and practical questions while the instructor teaches. They also notice someone falling behind. If the same person must do everything, reduce the session's complexity and capacity to match what they can deliver.
Pay for the work outside the public session. An instructor who needs to inspect the route, prepare exercises and review submitted photographs is working before and after the walk. Leaving those hours out of the fee creates a disagreement later, or a workshop that only works because someone keeps donating their time.
Set capacity around feedback and the route
Eight places is our example, not a universal maximum. Your limit depends on the subject, participant ability, staffing and locations. Start by working out how the instructor will help every participant during the practice time you've allowed.
Suppose an exercise provides twenty minutes for shooting and individual help. Eight people cannot each receive a long private lesson within it. The instructor might demonstrate a common issue to everyone, then move around for shorter individual conversations. Test that approach before describing the workshop as heavily personalised.
The busiest teaching stop may set a lower limit than the room where you meet. If only a small group can stand there without obstructing pedestrians, that matters more than how many names fit on the booking list. Count staff and any other people accompanying the group when checking the site's conditions.
Great Britain's Health and Safety Executive's guidance on assessing event crowd risks covers movement, site suitability and hazards such as vehicles sharing space with pedestrians. It explicitly includes events in urban streets and open spaces. Use relevant local requirements for your operation, and assess the route as a group activity rather than assuming a public footpath takes care of everything.
Ask buyers about access needs early enough to respond usefully. Describe distance, surfaces, steps, standing time, toilets and the availability of seated breaks. "Easy walk" tells people very little. If a route can't meet someone's needs, discuss a realistic alternative before taking their money.
Don't sell extra places just because demand looks promising. More tickets can mean less feedback, slower movement and additional staff. If you want to raise capacity, change the delivery plan first and test it. A second date may be a better commercial decision than crowding the first one.
Confirm permission for the business you're operating
You may be allowed to take a photograph somewhere without being allowed to run a paid class there. Ask the organisation responsible for each location about your actual activity, including group size, instruction, equipment, timing and whether money changes hands.
The US National Park Service makes this distinction clearly in its filming and photography guidance. It says a photography workshop operated as a business may need a commercial use authorisation and directs organisers to contact the park. Don't read a rule about ordinary still photography and assume it settles the permission for your commercial workshop.
Elsewhere, your contact might be a council, landowner, venue manager or site operator. Confirm the requirements for the specific place and activity. Keep the written response with your event arrangements, and check whether it sets conditions that affect your route or capacity.
For private interiors, agree access times and what the group can photograph. Check restrictions on tripods, flash, artworks, customers or staff. A cafe agreeing to host your final review doesn't automatically agree to become a portrait location. Explain what you want to do and get a clear answer.
Wildlife and sensitive landscapes need their own approach. The Royal Photographic Society's nature photography code of practice puts responsibility toward subjects and habitats ahead of getting the photograph. Build that into the teaching. Never make an exercise depend on disturbing an animal, entering a restricted area or leaving the permitted route.
Discuss your operation with an appropriate insurance provider too. Explain that people are paying for instruction and may be carrying valuable equipment in public spaces. Ask what your cover includes, what it excludes and what arrangements it expects you to make. Price the required cover before you set the ticket price.
Work out the price before promising the experience
Start with the complete cost of running the session. Include instruction and preparation, the host, venue, permissions, insurance allocation, promotion and any equipment you're supplying. Add the costs that increase with each participant, and decide how you'll handle booking fees and applicable tax in your own market.
Here's a deliberately simple illustration in US dollars. Suppose fixed session costs total $480 including payment for the instructor and host. Suppose each paid participant leaves $80 toward those fixed costs after the variable costs, absorbed selling fees and taxes you've allowed for. This $80 is money left per paid place, not the advertised ticket price. Your own cost estimates and tax treatment need checking.
Six paid places cover the $480. Seven leave $80 above those costs and eight leave $160. Four paid places leave a $160 shortfall. These figures are arithmetic from our stated assumptions, not photography workshop benchmarks or a forecast of what you'll earn.
| Label | Surplus or shortfall |
|---|---|
| 4 places | -160 |
| 5 places | -80 |
| 6 places | 0 |
| 7 places | 80 |
| 8 places | 160 |
The useful question is whether enough people will pay the ticket price needed to leave that contribution. A full session can still disappoint if the instructor's preparation or your own organising time hasn't been counted. Our guide to pricing a paid workshop develops that decision in more detail.
Set a sales review date before your major cancellation costs increase. If the walk needs six paid places to cover its stated costs, don't wait until the night before to discover that only four have sold. Agree in advance whether you will cancel, move the date or knowingly fund the shortfall as a limited test.
Keep that decision separate from safe delivery. Selling fewer tickets doesn't justify dropping the host if the route assessment requires that support. Selling more doesn't justify exceeding the agreed capacity. Change the price, costs, date or format while there's still time to tell buyers what they're getting.
Write a ticket page that answers practical doubts
People need to understand the learning offer before they can judge the price. Start with who the workshop is for, what they will practise and how the instructor will help. Use sample photographs to demonstrate the sort of exercise, with permission from whoever owns them. Avoid suggesting that every beginner will produce the instructor's best work.
State the duration and the walking commitment. Explain where the group meets, where it finishes and whether transport, venue entry or refreshments are included. If the meeting venue is only booked for arrival and review, say that rather than implying an indoor alternative is available all afternoon.
List equipment requirements in language buyers can check. "Bring a camera" isn't enough when the exercises require adjustable controls. Describe suitable devices, charged batteries, available memory and any lens requirement. If you supply equipment, explain exactly what is available and whether a participant must reserve it.
Explain the weather arrangements and cancellation terms before checkout. Buyers should know when you'll make a decision, how you'll contact them and what happens if you cannot run the experience as sold. Check the applicable consumer requirements for your location rather than copying another organiser's policy.
For selling the places, Loopyah's ticketing tools support ticket types and quantities, guest checkout and QR ticket confirmation. Use the ticket quantity to reflect your agreed teaching capacity. The checkout handles the purchase; you still need to write the equipment, access and weather information that makes the booking an informed decision.
Don't bury a major exclusion in the confirmation email. If the session won't cover video, editing or particular devices, buyers need that information before paying. The confirmation can repeat the essential details and help people prepare, but it shouldn't be their first opportunity to discover what they've booked.
Promote the lesson through a believable example
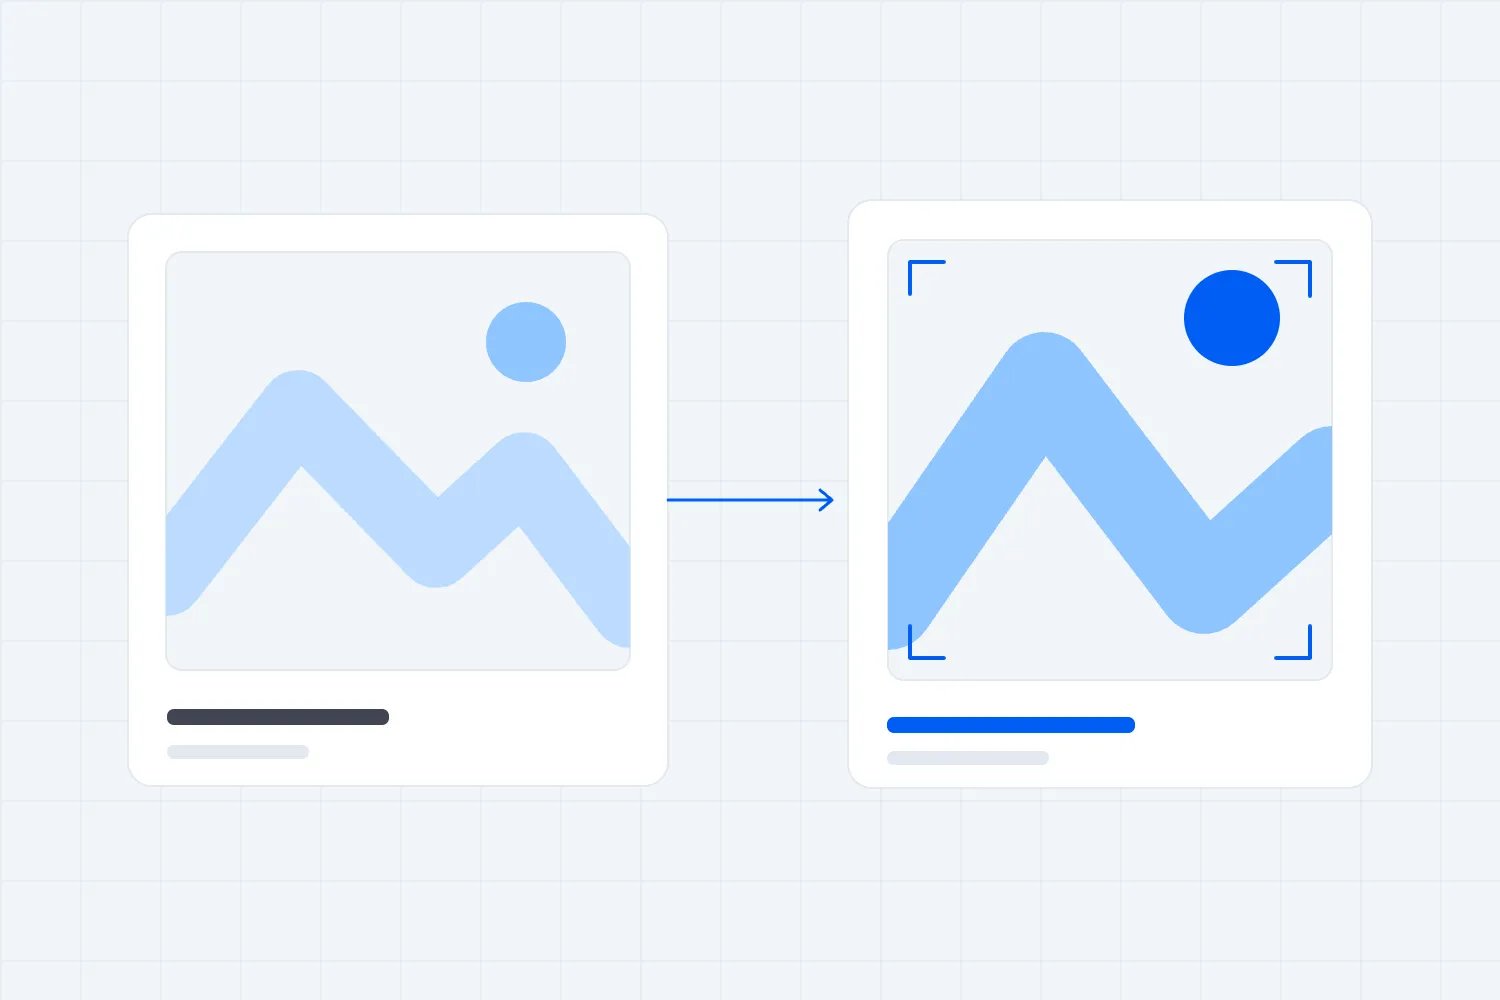
A photograph of a dramatic skyline may attract attention, but it doesn't explain why someone should pay you to walk there. Show a small teaching example. Compare two compositions of the same ordinary subject and explain what changed, or demonstrate how an exposure adjustment affects the result.
That lets a potential buyer see your teaching approach. A beginner can understand the improvement without needing to recognise the technical vocabulary. Pair the example with the starting ability, location, date and price, then direct people to the complete booking information.
Choose partners whose audiences match the session. A camera shop could reach new camera owners; an arts venue might reach people looking for a creative class. Agree what each partner will share and when. If there is a commission or other cost, include it in your budget instead of treating partnership sales as free.
Don't let the partner change the offer informally. If they describe a gentle beginner walk as an advanced street photography masterclass, you inherit the mismatch at check-in. Send them the approved description and equipment requirements so buyers receive the same promise wherever they discover the event.
For the first date, focus your promotion enough to learn something. Record which messages bring relevant enquiries and paid bookings. An advert that produces plenty of comments about the location may still fail to reach people who want instruction. Read the questions as evidence about the offer, not just as opportunities to repeat the booking link.
If early sales are weak, speak to suitable buyers before discounting. The problem may be the time, equipment uncertainty or lack of clarity about the teaching. A discount doesn't solve those. Improve the explanation where it's incomplete, then judge the remaining sales gap against the review date you set.
Prepare people and rehearse the complete walk
Send practical instructions early enough for participants to act. Remind them to charge batteries, clear space, bring their camera manual and check travel arrangements. Ask for camera models and relevant access needs through the communication method you've arranged. Explain why you need the information, and avoid collecting unrelated details.
Be precise about clothing and personal preparation for the conditions. Describe the surfaces and expected time outdoors so people can make sensible choices. Give them the meeting point in words as well as a map reference, and provide a contact for arrival problems.
Then rehearse the whole session with the instructor and host. Walk at the pace you expect from participants, including stops, crossings, demonstrations and review. Practise where the host stands, how the group regathers and how you respond when someone needs to leave early.
Test the final photograph review too. If the plan depends on transferring files, try the actual process with different devices. Don't discover during the closing exercise that half the group needs an adapter you haven't supplied. Reviewing on individual camera screens may be simpler, provided it still delivers the feedback you promised.
For our three-hour example, allow fifteen minutes for arrival and the opening briefing, twenty for the first demonstration, sixty for guided shooting, fifteen for a break and regrouping, forty for a second exercise and thirty for review. That totals three hours. Check the route and movement inside those allocations rather than adding travel time afterwards.
Keep an alternative exercise ready for a teaching stop you can't use. It should practise the same skill at a location you've already checked. Improvising a different lesson because the square is crowded may be reasonable, but it must still fulfil what participants paid to learn.
Assign the weather decision before tickets go on sale
Outdoor photography doesn't require perfect weather, but an organiser needs clear limits. Work with the instructor and the person responsible for safety to decide which conditions you can teach in, which require a route change and which mean stopping or cancelling.
Name the person who makes that decision and the time they will review conditions. Give the host the same information. If everyone assumes the instructor will decide while the instructor assumes the organiser is handling it, buyers may travel before anyone has checked whether the session can go ahead.
Check official local forecasts and alerts, site notices and the actual route conditions. A forecast alone won't tell you whether a path is closed or your meeting venue is accessible. Review conditions again on the day and during the walk when necessary.
Be honest about the alternative. An indoor composition class can be a worthwhile product, but it may not replace a city photo walk for someone who specifically bought outdoor instruction. Only sell it as the backup if the space is secured, the lesson works and buyers understand that arrangement before booking.
If you postpone, explain the new date and the options available under your terms and applicable consumer rules. Keep the message practical. Tell people whether to travel, where to find the next update and how to respond. During delivery, stop when the agreed limits are reached, even if you've nearly finished the route.
Teach the photograph, then let people try again
At the first stop, explain what the group is looking for and demonstrate the decision. Ask people to make their own photograph, look at the result and change something deliberately. The second attempt is often where your instruction becomes useful, because the learner can see what their choice changed.
Keep feedback attached to a specific photograph. "Find a stronger composition" leaves a beginner guessing. Ask what they wanted the viewer to notice, point out what currently draws attention and suggest a change they can test. Let them operate the camera so they can repeat the action later.
Watch who receives the teaching time. Confident participants will ask more questions, while someone struggling with a setting may stay quiet. Move around with that in mind. The host can handle practical interruptions while the instructor helps people who haven't yet received feedback.
If somebody is well beyond the advertised level, offer a more demanding version of the exercise when practical. Don't rebuild the session around them at everyone else's expense. Equally, if a participant needs fundamental help, support them without turning the rest of the walk into a private camera setup appointment.
Keep the public setting in view. Regroup away from crossings, let other people pass and stop demonstrations when the space becomes unsuitable. A group absorbed in viewfinders needs someone paying attention to its surroundings. That is part of delivering a paid walk well, even when the teaching is going beautifully.
Handle the ordinary problems without losing the lesson
A participant arrives late and calls while the instructor is demonstrating. Decide beforehand who answers and where the person can join safely. The host can explain the next agreed meeting point without asking the whole group to retrace the route. Don't encourage somebody to hurry across unfamiliar streets while searching for people holding cameras.
Equipment problems need a similarly realistic response. A spare battery only helps if it fits the camera. A loan camera only helps if the participant can learn the controls without missing the session. If you offer loan equipment, test it, charge it and write down the arrangement for collection and return. If you don't, say what support is possible when someone's own equipment fails.
Give the host a way to contact the instructor without shouting across the group. Agree what happens if someone becomes unwell, wants to leave or cannot complete the route. Check the arrangements against the site's requirements and your assessed risks. A small class still needs a practical response when the original plan stops working.
Be careful about promising refreshments or venue access you don't control. If the cafe closes early or cannot accommodate the group, you need another agreed place to finish. Confirm opening hours and any booking directly, then include relevant contact details in the staff information.
Agree how photographs can be shared
Participants may want to share their work, and you may want photographs for the next ticket page. Discuss those uses separately. Taking part in the workshop shouldn't be treated as an unlimited permission to use everyone's photographs or likeness in advertising.
The US Copyright Office's guidance for photographers explains that original photographs receive copyright protection when they are created, and that the photographer is generally the initial owner, subject to exceptions. The practical point for your workshop is to ask for permission for the uses you want rather than assuming the ticket gives you ownership.
Explain any submission process for critique. Say who will see the photographs, whether the review is private to the group and whether files will be retained. Ask separately before publishing a participant's image in promotion, and agree credit and the intended use. Check relevant local requirements for photographing people and using their likeness too.
Before inviting people to another workshop, review what they actually learned. Ask them to explain a choice they made in a photograph and what they would change next time. That tells you more about the lesson than a broad question about whether they enjoyed the afternoon. Enjoyment matters, but you sold an opportunity to develop a skill.
Keep your own review specific too. Record where the group waited, which controls needed the most help and whether the final review had enough time. If several people struggled with the same exercise, inspect the explanation and starting requirements before deciding they were the wrong audience. You may need a clearer demonstration or a simpler first task.
Look at the financial result alongside that teaching review. Include additional preparation, support messages and any refunds when checking what the session earned. If the only way to repeat it profitably is to remove the feedback buyers valued, revisit the price or the format. You want the next date to work for both the people attending and the people doing the teaching.
Make the next booking invitation match that evidence. Someone who now understands basic exposure may be ready for a focused low light session. Someone still finding camera controls may prefer another beginner practice walk. Explain the difference so returning customers can choose. You don't need to build a whole course immediately. Start with the follow-up lesson you can teach well, at a price that includes its preparation, and test interest before booking.
Finish by helping participants choose what to practise next. Deliver the resources or feedback you promised, and ask whether the equipment requirements, pace and individual help matched the description. Compare the actual costs and hours with your budget before opening another date. If people need more time to try again, adjust the lesson or reduce the group before selling the same session twice.

Author: By the Loopyah Content Team
The Loopyah Content Team shares expert insights, practical guides, and industry updates to help event organizers create unforgettable experiences and stay ahead in the event planning world.