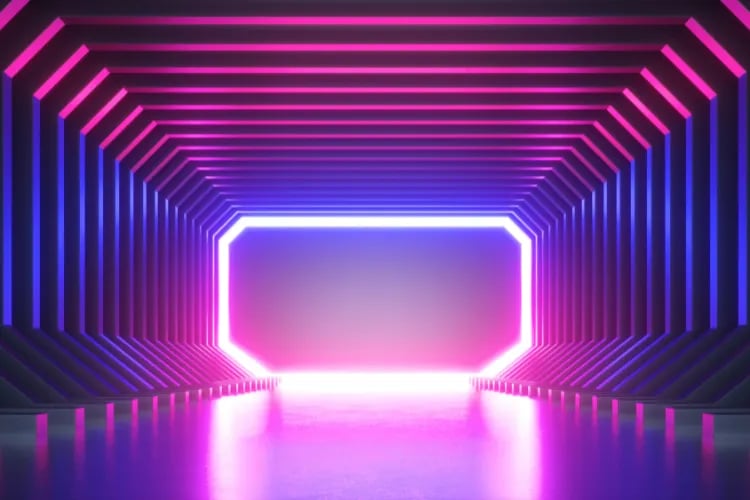
The Ultimate Guide to Concert Stages: Types, Layouts, and Design Tips
A great concert stage is more than a platform—it’s the engine of audience experience. The right geometry, layout, and production design can transform a performance into a moment fans remember, photograph, and share. Today’s most successful concert stages integrate technology, safety, sightlines, and brand storytelling into a cohesive environment that serves both artistic and business goals.
Before you choose fixtures or sketch a set, start with the why. What feeling should the audience have? What does the artist need to deliver? When you lead with purpose, the stage becomes a strategic tool: it shapes intimacy, impacts ticket yield and camera capture, and streamlines crew flow and costs.
In this comprehensive guide, we’ll cover the major types of concert stages, how to size and plan layouts, production design essentials (lighting, sound, visuals, and scenery), safety and compliance, real-world case studies, common pitfalls, and the trends redefining live shows. Whether you’re designing a club tour, a festival main stage, or an arena spectacular, you’ll find practical tips you can apply right away.
Types of Concert Stages
Stage form dictates intimacy, sightlines, and backstage logistics. Choose your stage geometry first—it will drive your audio and lighting design, crew flow, and even the scale of freight and labor. Here are the most common types of concert stages and when to use them.
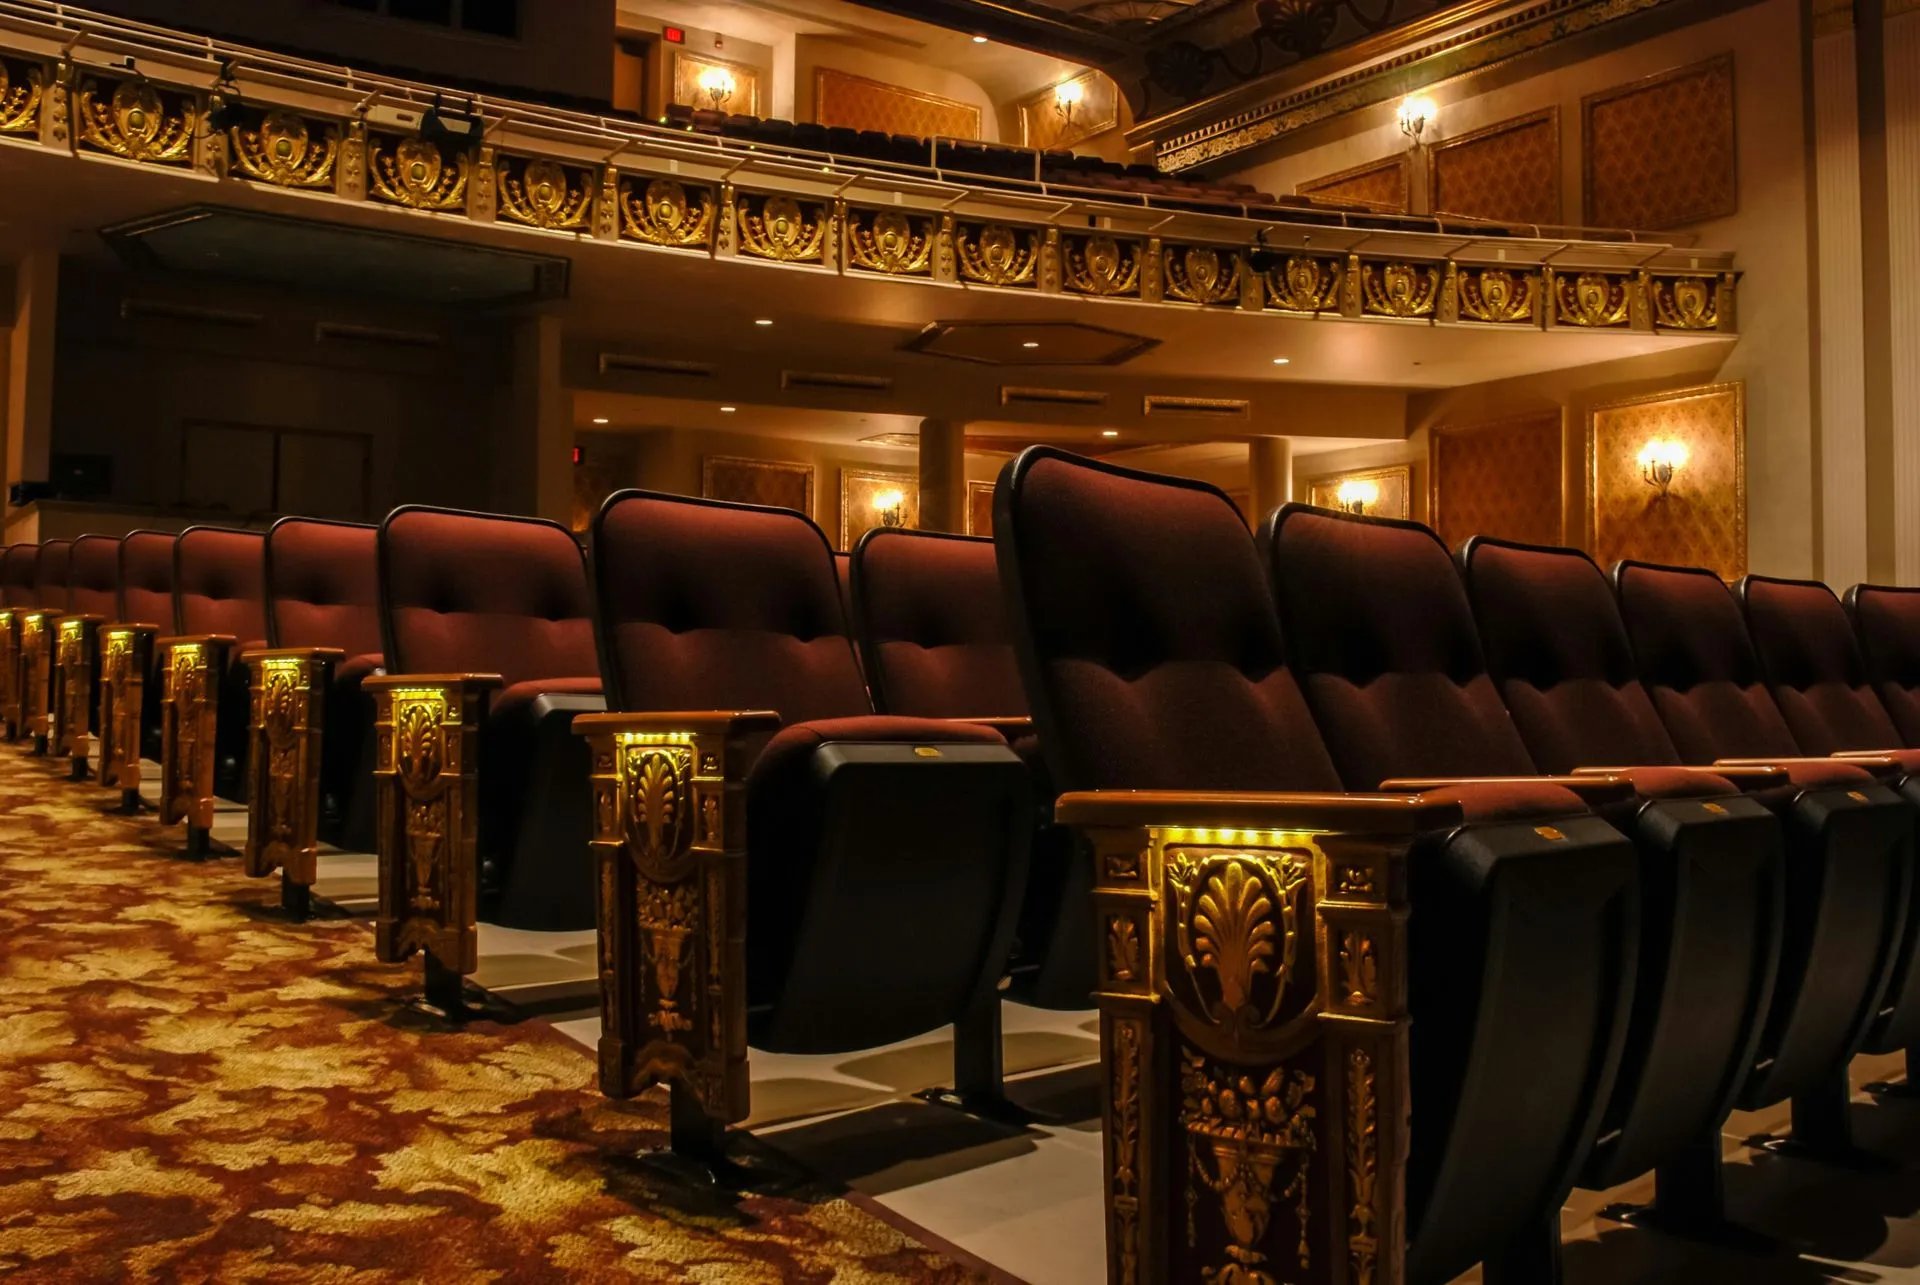
Proscenium Stage
Think of the proscenium as the classic “picture frame” stage: audience on one side, a framed opening around the performance area, and ample room for masking, rigging, and scenic magic. It’s a staple for theaters and many performing arts centers, and it remains a dependable option for concerts that rely on big scenic looks and precise lighting control.
Advantages:
Predictable, clean sightlines from most seats.
Strong masking options for scenic reveals and IMAG screens.
Generous rigging opportunities for lighting, audio, LED, and automation.
Trade-offs:
Less intimacy—audience is typically further from performers.
Front-biased sound and lighting; side seating may be less engaging without careful design.
How to make it work for concerts: Consider adding an apron or runway into the audience to pull energy forward, deploy side-fills and distributed PA for even coverage, and use layered portals or LED frames to create depth without obstructing views.
Thrust Stage
A thrust stage extends into the audience with spectators on three sides. The effect is immediate and immersive, making it ideal for intimate sets, acoustic performances, or artists who thrive on audience interaction.
Benefits:
Increased proximity and sightline variation heighten connection and energy.
More creative blocking and camera angles for live capture.
Challenges:
360-aware choreography: avoid turning your back to any side for too long.
Use low-profile or transparent scenic elements so you don’t block views.
Distributed audio and multi-angle lighting are essential to prevent shadows and hot spots.
Arena Stage (In-the-Round)
With audience on all sides, arena stages deliver maximum capacity and equalize the sense of proximity—someone is always close. They also demand exacting engineering so sound, light, and video feel balanced from every vantage point.
Key considerations:
Audio: Design delay rings and distributed arrays; use cardioid sub configurations to keep low-end off the stage and out of the audience’s backs.
Lighting: Prioritize overhead and off-axis positions that can key faces without blinding or shadowing adjacent sections.
Video: Consider 360 LED ribbons, IMAG on halo screens, or projection surfaces that don’t block other seats.
Mobile Stage
Mobile trailer stages are engineered for speed, safety, and repeatability—perfect for festivals, city concerts, and pop-ups. Models vary in deck size, rigging capacity, and wind ratings, but all share a core value: you get a predictable stage fast, often with fewer trucks and fewer labor hours than a built-from-scratch deck.
What to plan for:
Match the model to your rigging needs (audio hangs, video walls, lighting weight) and expected crowd size.
Follow manufacturer wind-management protocols and local code approvals; have a weather action plan with thresholds and triggers.
Confirm truck access, ground bearing capacity for outriggers, and clear fall zones for safe deployment.
Custom Stage
When the stage is the brand, custom builds fuse architecture, motion, and media. Think sculptural main decks, kinetic towers, automated lifts, and immersive LED or projection environments. These projects demand early collaboration between creative directors, structural engineers, fabricators, content teams, and safety officers.
Why go custom—and what it requires:
Maximum differentiation: a visual identity fans recognize instantly and love to share.
Higher complexity: integrated design reviews, mockups, and prototyping to validate load paths, clearances, and show control.
Tighter alignment: design, content, and safety decisions must move together to stay on schedule and on budget.
Key Elements of a Concert Stage Layout
Stage Size and Dimensions
Right-sizing your platform is part art, part logistics. Start from the performance needs—band size, choreography, scenic elements, and video—and then scale the deck, wings, and rigging clearances. Build in room for changeovers and safe crew circulation.
Guidelines and checkpoints:
Deck footprint: Clubs might operate with 6–9 m widths; theaters often 12–18 m; arenas 18–24 m+ with thrusts or runways. Depth and height depend on scenic and video needs—design for what must happen on the floor.
Rigging height: Ensure trim heights for lighting and PA match your looks and coverage. More height increases flexibility but may require more elements for even lighting and audio.
Wing space: Plan clear wings for quick changes, instrument swaps, and cable management; 3–6 m per side is common, more for large scenic or carts.
Circulation: Keep at least one continuous path around the upstage line; 1.2–1.8 m is a practical target for two-way traffic with cases.
Floor load: Verify deck and substructure ratings for risers, lifts, and crowd loads, particularly if the audience is allowed on runways or B-stages.
If you’re also selling reserved seating or mapping GA pens, tie the stage plan to your seat map early to balance capacity and sightlines. Interactive maps help you visualize obstructions and premium views. Learn more about interactive seat maps here.
Backstage Area
A well-organized backstage accelerates load-ins, protects artists, and keeps the show moving. Think of it as a mini city with clearly marked routes from the dock to the deck.
Essentials to include:
Dressing rooms (star and chorus), green room, quiet warm-up space, and hospitality areas close to stage without obstructing crew paths.
Production office and stage management hub with comms visibility to FOH and key departments (audio, lighting, video, rigging).
Storage and shops: secure areas for cases, backline, props, carpentry, and quick-change racks; designate clear lanes for case traffic.
Patch and power distribution (“dimmer beach”/distro world), with safe cable runs and redundancy where needed.
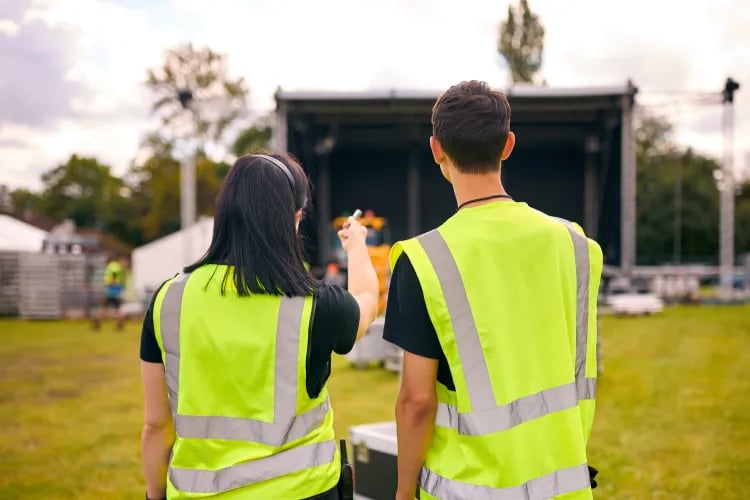
Staffing matters as much as rooms. Define roles and comms protocols for stagehands, patch techs, riggers, and artist liaisons; align crew call times and turnaround plans. If you’re building out your crew plan, this guide to event staffing can help: How to Staff Your Event Effectively.
Loading Dock and Access
Fast, safe load-ins and load-outs are determined by geometry and clear circulation. You want straight, unobstructed routes from trucks to the stage, adequate marshalling space, and access control that keeps the public away from forklifts and case runs.
Plan for:
Dock capacity and scheduling: How many trucks at once? Is there a queue area? Are dock doors wide and tall enough for your largest cases?
Crew circulation: Keep tech corridors clear; avoid crossing audience paths with heavy cases; post spotters for blind corners and ramp transitions.
Security and credentialing: Establish a perimeter, zoning, and radio channels so the right people have access at the right times.
Safety Considerations
Safety is a design input, not an afterthought. Establish your compliance plan early, document it, and align with the Authority Having Jurisdiction (AHJ). Temporary outdoor structures should follow recognized standards, and indoor shows must uphold egress and crowd management requirements.
Core elements to cover:
Temporary structures: Follow ANSI E1.21-2024 for outdoor stages and roofs; document wind action plans and load paths.
Crowd management: Many jurisdictions require trained crowd managers, often at ratios such as 1 per 250 attendees. Post occupant loads and verify accessible egress routes always remain open.
Emergency planning: Build a scalable plan covering weather, medical, evacuation, security coordination, and communication protocols.
Special effects: Confirm permits and qualified operators for flame effects; follow current fog/haze guidance and keep Safety Data Sheets on site.
Stage Equipment and Gear
Every concert stage depends on reliable gear to support performance, safety, and show impact. Your equipment choices affect setup time, creative flexibility, and budget, so plan early and verify compatibility across departments.
Core Stage Components include:
Stage Decks and Risers
Use modular platforms, riser legs, and rolling decks that can handle live loads safely. Confirm the weight ratings for performers, instruments, and scenic pieces. Drum risers or secondary decks can help vary sightlines and keep backline gear organized.
Trussing and Rigging
Aluminum truss systems and chain hoists form the backbone of most stages. Determine load requirements early for lighting, audio, and scenic elements. Always follow certified rigging practices and local safety codes.
Roof and Canopy Systems
Temporary roof structures protect gear and performers from weather. Match the system to local wind ratings, anchoring requirements, and rigging weight limits. Mobile stage roofs save setup time but require solid ground and proper ballast.
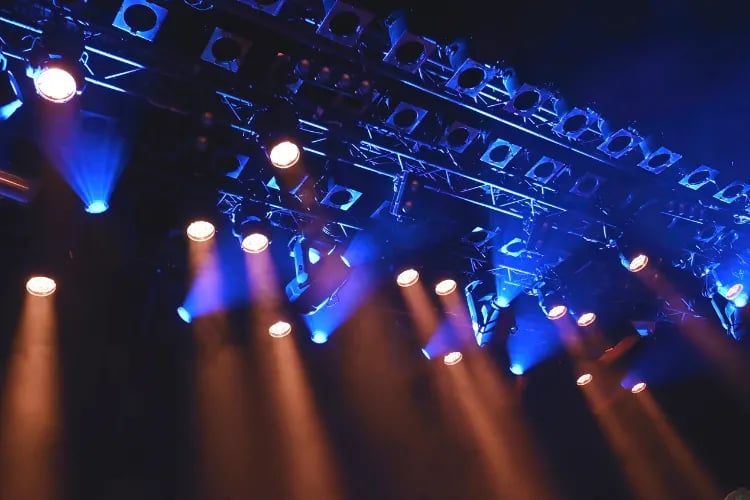
Lighting Fixtures and Support
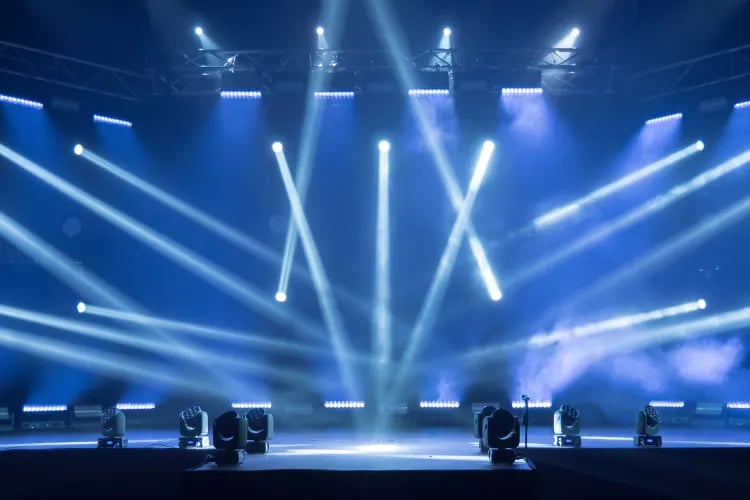
Include a balanced rig of moving heads, washes, spots, and LED battens. Distribute positions for even coverage and color balance across all sightlines. Plan for DMX distribution, RDM management, and easy touring setup.
Audio Systems
Concert audio design typically includes line arrays, subwoofers, front fills, and onstage monitors or in-ear transmitters. Aim for even sound pressure levels across the venue and verify rigging points and power distribution match your PA weight and current draw.
Video and Display Systems
LED walls, projection systems, and IMAG (image magnification) screens enhance audience engagement. Plan brightness and resolution to match ambient light levels and stage geometry, and consider cable runs for data and power.
Power and Distribution
Include distro panels, feeder cables, tie-ins, and generators if needed. Size power capacity for worst-case loads and include redundancy with circuit protection (RCD/GFCI). Label circuits clearly for each department.
Cabling and Infrastructure
Organize signal and power runs with multicore, fiber, DMX, XLR, or powerCON cabling. Use tidy, color-coded, and labeled routing to avoid trip hazards and simplify changeovers between acts.
Safety and Access Gear
Always plan for stairs, guardrails, handrails, fall protection, and flame-retardant drape. Inspect safety equipment regularly and make it part of every load-in checklist.
Optional Add-Ons
Stage lifts or elevators for dramatic entrances
Turntables or motion platforms for dynamic reveals
LED floors or interactive surfaces
Acoustic panels or stage skirts for improved sound control
🎬 Stage Setup Process (Step-by-Step)
Building a concert stage is a coordinated process that blends engineering, artistry, and timing. Whether you’re working in a theater, an arena, or a festival field, following a consistent setup sequence ensures safety, efficiency, and show quality.
1. Pre-Production and Planning
Every great setup starts weeks before the first truck arrives.
Finalize your CAD or 3D layout, including rigging points, stage dimensions, and sightlines.
Confirm load-in schedules, crew assignments, and equipment manifests.
Share the safety plan with all departments — especially rigging and electrical teams.
Coordinate with the venue for power tie-ins, dock access, and insurance compliance.
2. Load-In and Stage Assembly
The physical build begins with geometry.
Mark the footprint and level the ground or subfloor.
Assemble deck modules and risers, locking them securely.
Install stairs, railings, and ramps for safe access.
Position wing space for quick changes and backline storage.
3. Rigging and Trussing
Once the deck is secure, the overhead system comes next.
Assemble and hoist truss sections, attaching motors or chain hoists.
Verify all load calculations and certified hardware before lifting.
Hang lighting, audio arrays, and scenic elements according to the rigging plot.
Conduct a secondary safety check (pin locks, safety bonds, load tags) before anyone works beneath the rig.
4. Power and Cabling
Run feeder cables and distro panels early, before the stage fills up.
Label circuits for lighting, audio, and video departments.
Use overhead cable paths or protective ramps to prevent trip hazards.
Confirm all grounds and RCD/GFCI protection before energizing circuits.
5. Lighting, Audio, and Video Setup
Patch and address lighting fixtures; test DMX signal flow.
Fly line arrays, check polarity, and tune for even SPL coverage.
Install LED walls or projection surfaces and confirm pixel mapping.
Sync media servers and lighting consoles to timecode if used.
6. Soundcheck and Rehearsal
Perform full system tests: audio, lighting cues, video playback, automation.
Adjust focus positions and aim for balanced levels across the venue.
Run a walk-through from audience view to catch missed sightline issues.
7. Safety Walk-Through
Before opening doors, the production manager should confirm:
All egress routes and fire lanes are clear.
All cables are taped or ramped.
Weather plans (if outdoors) are active and thresholds posted.
Only credentialed crew remain in restricted zones.
8. Load-Out
Reverse the process: power down, strike backline, lower trusses, and disassemble decks.
Label, wrap, and palletize gear by department to speed future shows.
💰 Concert Stage Cost Breakdown
Stage budgets vary widely based on size, location, and complexity — but understanding cost categories helps you plan realistically and protect margins.
1. Small-Scale (Club or Local Event)
Typical budget: $2,000 – $10,000 per event
Includes: portable risers, basic lighting tree, compact PA, and a technician crew.
Cost drivers: delivery distance, crew hours, and venue power availability.
2. Mid-Size (Theater or Festival Stage)
Typical budget: $15,000 – $100,000
Includes: modular stage deck, roof system, lighting rig, PA arrays, LED screen, and certified riggers.
Cost drivers: truss load ratings, wind-rated roofing, video wall size, and trucking.
3. Arena or Custom Touring Stage
Typical budget: $150,000 – $1 million+
Includes: custom scenic fabrication, automation, large-scale LED, advanced sound design, and transport logistics across multiple cities.
Cost drivers: fabrication materials, automation systems, LED content, and labor for load-ins/outs.
Hidden or Variable Costs
Freight and fuel surcharges (especially for multi-city tours)
Crew per diems and hotels
Power and generator rental
Permits, insurance, and engineering sign-offs
Weather contingencies for outdoor events
Cost-Control Tips
Design modular scenic that reuses across shows.
Source local labor and rentals to cut freight costs.
Schedule overnight load-ins to minimize overtime.
Build a 5–10% contingency for unexpected repairs or weather delays.
Stage Design Software and Tools
Digital design tools save time, reduce risk, and help visualize your stage before it’s built. Here are the most widely used platforms across lighting, audio, and staging departments.
1. Vectorworks Spotlight
The industry standard for stage and lighting CAD. It integrates 2D drafting with 3D modeling, rigging analysis, and paperwork generation.
Ideal for venue plotting and rigging plans.
Exports to pre-viz tools for lighting and media simulation.
2. Capture Visualisation
Real-time 3D visualization for lighting and media. Works seamlessly with major consoles (MA, Hog, Avolites).
Great for pre-programming cues before load-in.
Supports DMX-in for live rehearsal simulations.
3. L-Acoustics Soundvision / d&b ArrayCalc
Acoustic modeling tools used to design PA systems and predict SPL coverage.
Import your stage geometry to optimize array angles and sub placement.
Essential for large venues and in-the-round stages.
4. WYSIWYG by CAST Software
Comprehensive lighting design suite — combines CAD, visualization, and paperwork.
Allows photometric testing and renderings for client approvals.
Integrates with console data for real-time visualization.
5. Blender or Unreal Engine
Open-source and real-time engines for concept renders and immersive previews.
Perfect for creative directors and clients who need cinematic mockups.
Useful for virtual production or pre-viz of kinetic stage elements.
6. EventDraw or AllSeated
Simplified event layout software with drag-and-drop seating, staging, and rigging icons.
Great for non-technical planners and venue managers.
Generates scaled layouts for safety review and client sign-off.
Stage Design Tips for Concerts
Lighting
Lighting shapes emotion and directs attention. It also has to play nicely with video and camera capture. Build a layered rig with flexible positions so you can adapt to different songs, moods, and venues without compromising visibility.
Best practices to consider:
Network and control: DMX512-A remains the backbone of control; segment your data network, plan for RDM device management, and keep a hardline backup for mission-critical positions.
Key/fill/back balance: Prioritize face light for camera, then add sidelight and backlight for depth; use CT-compatible palettes so followspots, wash, and LED walls feel cohesive.
Video brightness: If your show leans on LED walls, set lighting levels that don’t fight the screen luminance—use angles and gobos that complement rather than compete.
Positioning: In thrust or in-the-round, rely more on overhead and far-off-axis trusses so faces read from multiple sides without blinding adjacent seating sections.
Sound Systems
Modern PA design is prediction plus validation. Use array modeling to optimize coverage and power, then verify with measurement and tuning on site. Your goals are even SPL, clear vocals, controlled low-end, and localization that matches the stage picture.
Key strategies:
Line array optimization: Adjust splay, aim, and shading for uniform coverage; use prediction to understand balcony and bowl interactions before you hang steel.
Low-frequency control: Cardioid sub arrays reduce onstage rumble and help the mix translate across the venue without swamping the front rows.
Time alignment and measurement: Verify with multiple mics across the audience area; align mains, fills, delays, and subs so arrivals are cohesive and musical.
Visual Effects and Projections
Media elevates the story—if it’s designed with the stage from day one. Whether you’re using LED walls, projection mapping, or generative engines, establish a content pipeline that covers rendering, sync, and previsualization so cues are reliable under show conditions.
Creative and technical tips:
Pick surfaces that reinforce the narrative: portals, LED floors, translucent scrims, or scenic elements that accept light well without causing glare.
Blend IMAG and content: Frame camera shots within your media design so performers don’t get lost against bright backgrounds.
Pre-viz: Validate looks before you load in; lock pixel maps, server routing, and timecode so tech rehearsals are for refinement, not discovery.
Set Design and Backdrops
Sets and backdrops build the world of your concert stage. Choose materials for look, durability, and code compliance; document flame-retardant treatments and keep certifications ready for inspection. Modular designs speed travel, reduce weight, and simplify load-ins.
Ideas that travel well:
Scenic portals and arches that frame the picture without blocking side views.
IFR/FR fabrics and printed drops for texture; consider scrims for reveal moments and easy trucking.
Lightweight, recyclable materials; scenic elements that pack flat; clamp-on signage instead of custom steel.
Don’t forget the camera. High-contrast backdrops, clean sightlines, and thoughtfully placed signage elevate photos and social content. For a deeper dive on capturing the show you’ve designed, check out our event photography guide.
Case Studies: Successful Concert Stage Designs
Example 1: U2’s Minimal Stage in an Immersive Venue
In venues where the room itself is the spectacle, less can be more. For an ultra-immersive environment with a wraparound screen and advanced beamforming audio, U2 adopted a minimal, monolithic stage with a generative LED floor. The stage became a clean anchor that let media and audio define the space, directing attention without clutter. The lesson: when the venue provides the wow, simplify the architecture so the artist and content remain the hero.
Example 2: Coldplay’s Touring Platform for Sustainability
Coldplay’s Music of the Spheres tour wove sustainability into the stage itself—kinetic dance floors and fan-powered bikes, solar arrays, and a focus on modular, lightweight systems. The result paired spectacle with demonstrable emissions reductions compared to prior tours. The takeaway: sustainability needs early engineering across power, materials, and freight to work at scale; when it does, it can deepen audience connection and brand trust.
Design the stage to serve the story. In an immersive venue, simplify. In a conventional hall, amplify with portals, lighting, and screens. Let purpose guide the palette.
Common Pitfalls to Avoid in Concert Stage Design
Poor Planning
Rushing design leads to avoidable compromises on sightlines, coverage, and crew safety. A strong plan starts with geometry and ends with a timed, resourced schedule that every department understands.
Avoid these traps:
Underestimating rigging height needs for PA and lighting, forcing last-minute rehangs or uneven coverage.
Overlooking changeover paths, loading geometry, or case storage, which slows the show and increases risk.
Skipping pre-viz and content locking, leading to misaligned video or last-minute media fixes on show day.
Safety Neglect
Safety lapses are costly and dangerous. When in doubt, over-communicate and document. Assign a weather officer and empower qualified leads to pause or stop the show if thresholds are met.
Critical misses to avoid:
Failing to staff trained crowd managers or to keep egress aisles clear and well-marked.
Ignoring wind protocols for outdoor roofs or neglecting to document special effects permits and operator credentials.
Budget Overruns
Inflation, freight, and labor can quickly balloon costs. Build a real contingency and practice scope discipline—your best savings come from decisions you make before you load the first truck.
Cost control ideas:
Add a 5–10% contingency for materials, labor, and weather-related costs; protect it for true risks, not nice-to-haves.
Design modular, reusable scenic that packs efficiently; prioritize lighter, stronger materials to cut freight and load times.
Lock media pipelines and pixel maps early to avoid overtime fixes. For broader budgeting strategy, see how to set and protect your event budget.
Trends and Innovations in Concert Stage Design
Interactive Stages
From LED floors that react to performers’ steps to motion-tracked visuals that follow artists, interactivity boosts immersion and creates social-ready moments. Build in latency budgets and failover modes so interactions feel responsive and reliable.
Sustainable Stage Design
Sustainability has moved from aspiration to KPIs. Optimize power with efficient fixtures and servers, reduce trucking through modular lightweight scenic, and choose recyclable or reusable materials. When you track and publish results, fans and partners notice.
Immersive Experiences
Spatial audio, XR/AR layers, and panoramic display systems are changing expectations—even in legacy venues. The secret is balance: build the wow without overwhelming the performer, and keep cueing tight so immersion enhances (not distracts from) the music.
Conclusion
Concert stages succeed when they’re intentional. Choose the right geometry for the show, design the layout as a complete ecosystem (stage, wings, rigging, docks, and audience), and bake in safety and compliance from day one. Integrate lighting, sound, visuals, and set so they serve sightlines and the story—not the other way around. And if sustainability and interactivity matter to your audience, plan them into power, materials, and show control from the outset.
Ready to align ticketing with production and marketing, Loopyah has the tools to support your rollout.
Get started with LoopyahResources and Further Reading
Build a standards-driven library for your production teams and keep it up to date. These resources are a strong start:
ANSI E1.21-2024 Temporary Outdoor Structures — guidance for the design, deployment, and management of temporary stages and roofs.
Event Safety Alliance — Standards & Guidance — practical safety resources for live events teams.
Ready to go deeper on show visuals and front-of-house marketing moments? Explore signage ideas that complement your stage world in this signage roundup.
Author: By the Loopyah Content Team
The Loopyah Content Team shares expert insights, practical guides, and industry updates to help event organizers create unforgettable experiences and stay ahead in the event planning world.